- Advanced Settings - Steps before publishing an Assessment Template
After questions have been added and you are ready to publish your assessment template, you need to complete a few steps, which can’t be edited once it’s published:
- Declare a pass score
- Declare how many questions should be included in an assigned assessment
- Set the information the candidate can see
- Adjust the advanced settings
Pass Score
The pass score can be presented in points (e.g. 7 / 10 points) or as a percentage (e.g. 70%).
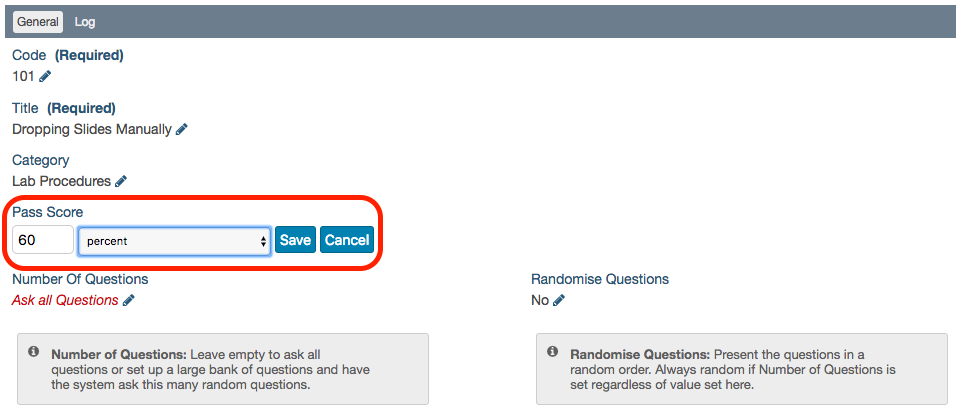
To set the pass score:
- Click the edit (pencil) icon under Pass Score
- Select points or percent from the dropdown menu
- Type in a number according to your choice above
- Click Save
Number of Questions
You can have a larger number of questions in the template than are required for each assessment. This allows you to produce varied assessments from the same template. The questions can be randomly selected from the pool available. When you create a question you declare if it should be mandatory. Mandatory questions are always included up to the number of questions declared for the assessment.
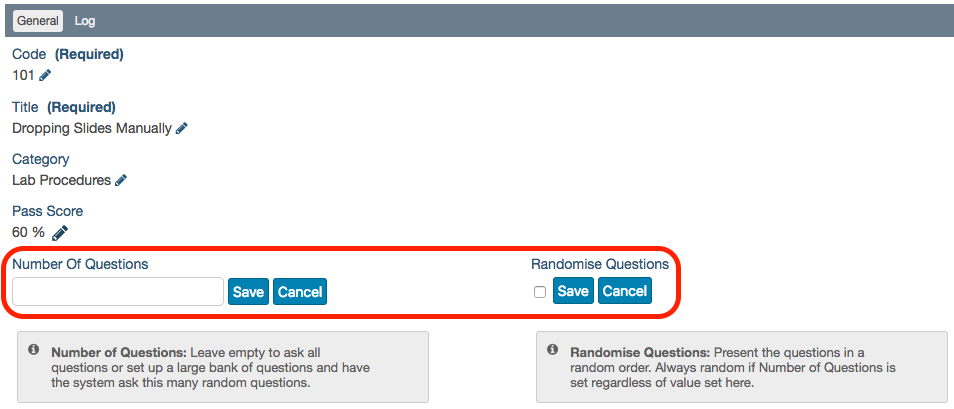
To set the number of questions (if you don’t want to Ask all Questions):
- Click the edit (pencil) icon under Number of Questions
- Type the number of questions to include in every assessment (Leave empty to Ask all Questions)
- Click Save
Randomise Questions
If a number is set above, questions will automatically be randomised.
If not, you can still randomise them:
- Click the edit (pencil) icon under Randomise Questions
- Click the checkbox
- Click Save
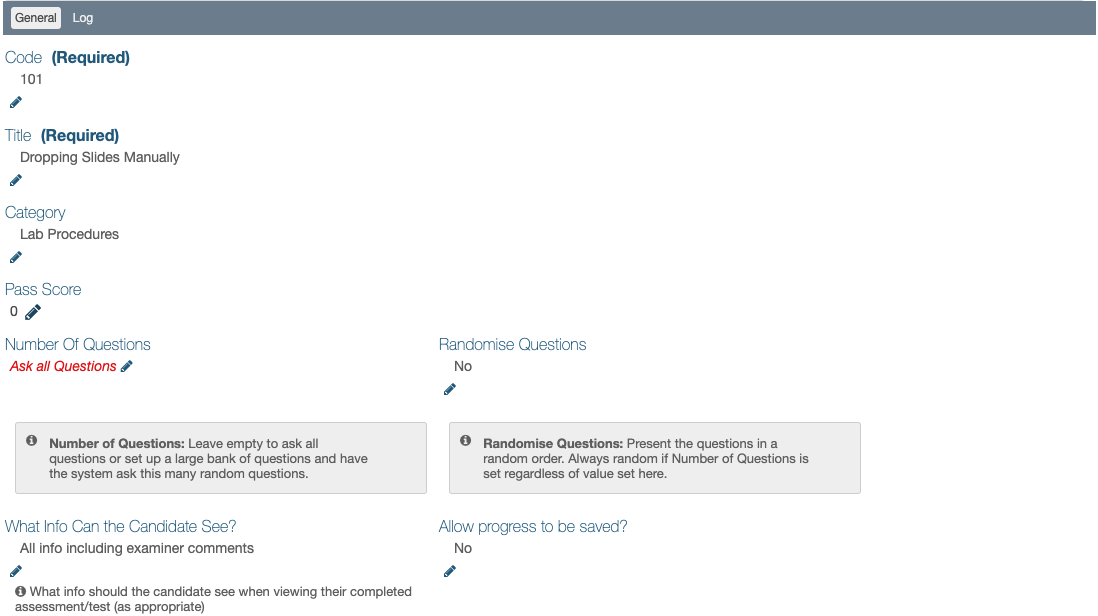
What Info Can the Candidate See?
This field allows defining what information the candidates should see when they receive feedback on their assessment results.
There are 4 choices:
- Pass or Fail only - no other information provided
- Show failed Questions - only failed questions and answers returned
- All info excluding examiner comments - all questions, answers and scores returned, without examiner comments
- All info including examiner comments - all of the above plus any comments entered by the examiner
To set the information a candidate can see:
- Click the edit (pencil) icon under What Info Can the Candidate See? to expand the area
- Click in the field to reveal the dropdown menu and select one of the choices
- Click Save
Allow Progress to be saved?
Sometimes it is acceptable to allow an assessment to be paused and return to complete it later without losing the answers already entered. This option is useful to prevent loss of work when an assessment involves lengthy processes, in case the assessor gets timed out and logged off the system in the middle of the assessment.
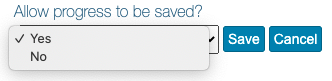
When this option is set to “yes”, assessors will see a ‘Save Progress’ button in the bottom left corner of the exam. Clicking it will save all completed answers and the user can close the assessment temporarily by clicking the “X” at the top.
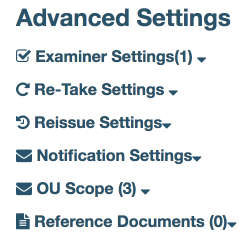
Advanced Settings
There are 6 advanced settings:
- Examiner Settings
- Re-Take Settings
- Reissue Settings
- Notification Settings
- OU Scope
- Reference Documents
Most advanced settings can’t be changed once the assessment template is published. The only advanced setting that can be edited after publishing is Examiner Settings.
Publish an Assessment Template
Once the questions are complete and the score, number of questions and advanced settings have been applied the template can be published.
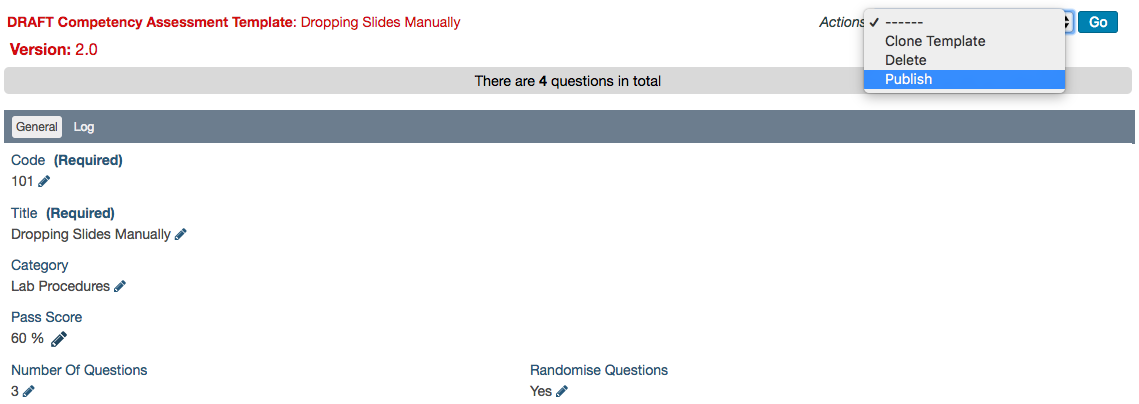
To publish:
- Scroll up to the header section of the template
- Click the dropdown menu for Actions:
- Select Publish
- Click Go
- Click OK in the message box saying, “Are you sure you want to publish this Template?”

Once published, you can assign the assessment to other users and view progress. To learn how, please see, Viewing and Assigning Assessments