- Inspection Prep
Inspection Prep
Introduction
The Inspection Prep -Controlled Prints area of iPassport allows the user to see which archived document prints are still in circulation at any time; this prevents from having to check each individual document. This area extends print management within iPassport. Active NC Actions lists all active actions from the Non-Compliance area of iPassport. Here a user can: Edit, Complete, Verify, Delete and Send action Reminders.
To locate this area, please navigate to Quality Management > Inspection Prep.
Permissions
Prints are governed by the following permissions:
- Desktop:Show Inspection Prep Menu Item - Show the Inspection Prep Global Menu Item
- ‘…controlled document type…’:View Print History
such as:
Policies, SOPs, Documents, COSHHs, Health and Safeties and Job Descriptions: View Print History - Allow a user to view the print history for….
Controlled Prints
Locating a Controlled Print
It is important to note that the Inspection Prep area is defaulted to work for controlled prints generated from a controlled document, this can be adjusted using the ‘Print Type’ dropdown.
To search for a document by its index, use quotation marks ("") around the index so it gets recognised as such.
If a controlled print has been produced for a controlled document then it would appear in the Inspection prep area of the system assuming the user has permission to see the print. The Inspection prep area shows the most important prints. The search filter is defaulted to show only prints to be destroyed. The way the system determines this is based on the parent document status, so if the user has an un-destroyed print for a superseded document then this would be displayed here.
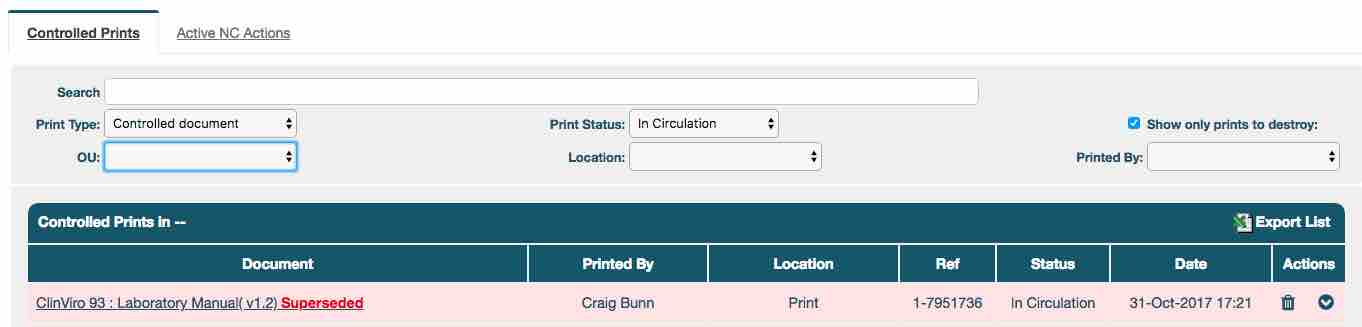
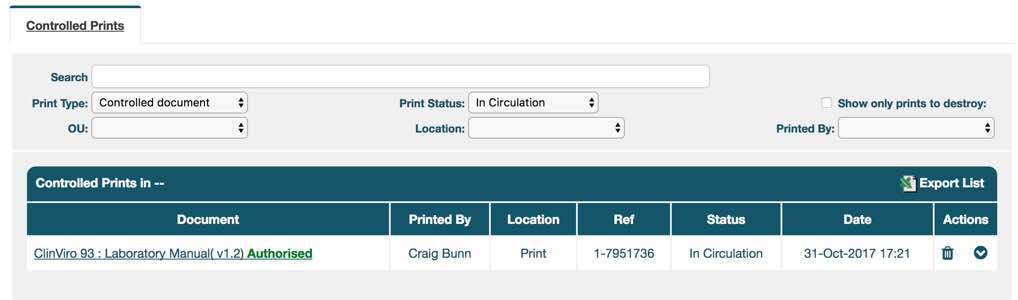
If the user deselects the ‘Show only prints to destroy’ field then current prints and those associated to superseded versions would be shown.
It is possible to use the other search criteria to narrow down the search further.
The system is defaulted to show the ‘Print Status’ of ‘In Circulation’, so should the user wish to search for destroyed prints simply change this to ‘Destroyed’.
Destroying a Print
It is possible to mark prints as destroyed from within the Inspection Prep area. This operation can be performed on documents associated to authorised copies and those associated to superseded copies. If a new version of a document is released prints associated with the now superseded version should be destroyed. There are two methods to mark printed copies as destroyed - individually or in bulk.
Destroying individual prints

Simply click the trashcan icon in the ‘Actions’ column to mark the print as destroyed; this opens a new field to add a ‘Destroy Confirmation’ reason for destruction.
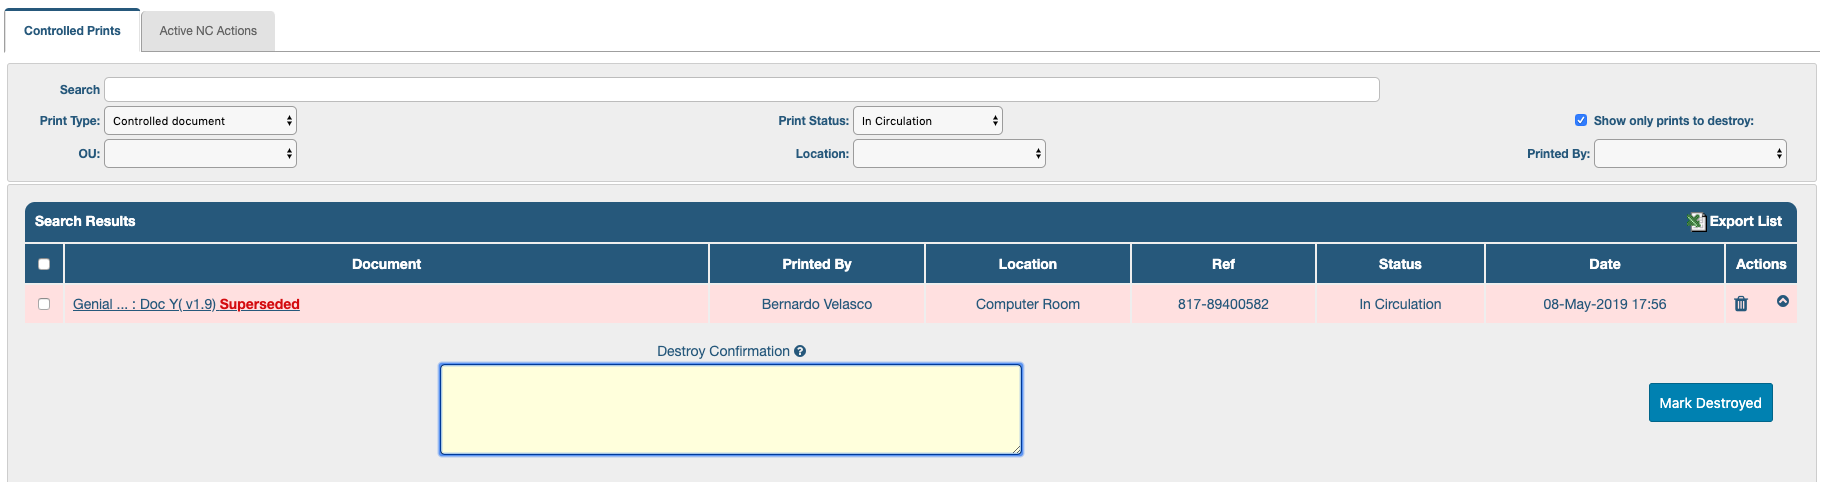
All the user needs to do is enter a ‘Destroy Confirmation’ reason for destruction and click Mark Destroyed.
This then removes the print record from the ‘In Circulation’ list and updates the controlled document ‘Print History’.
Destroying multiple prints
Alternatively, multiple prints can be marked as destroyed by ticking their checkbox on the right column and then clicking, Delete Print(s). There is a checkbox in the header section that allows selecting all prints in one click. A message at the top right of the header indicates how many prints have been selected (“x items selected”, where “x” denotes the number).
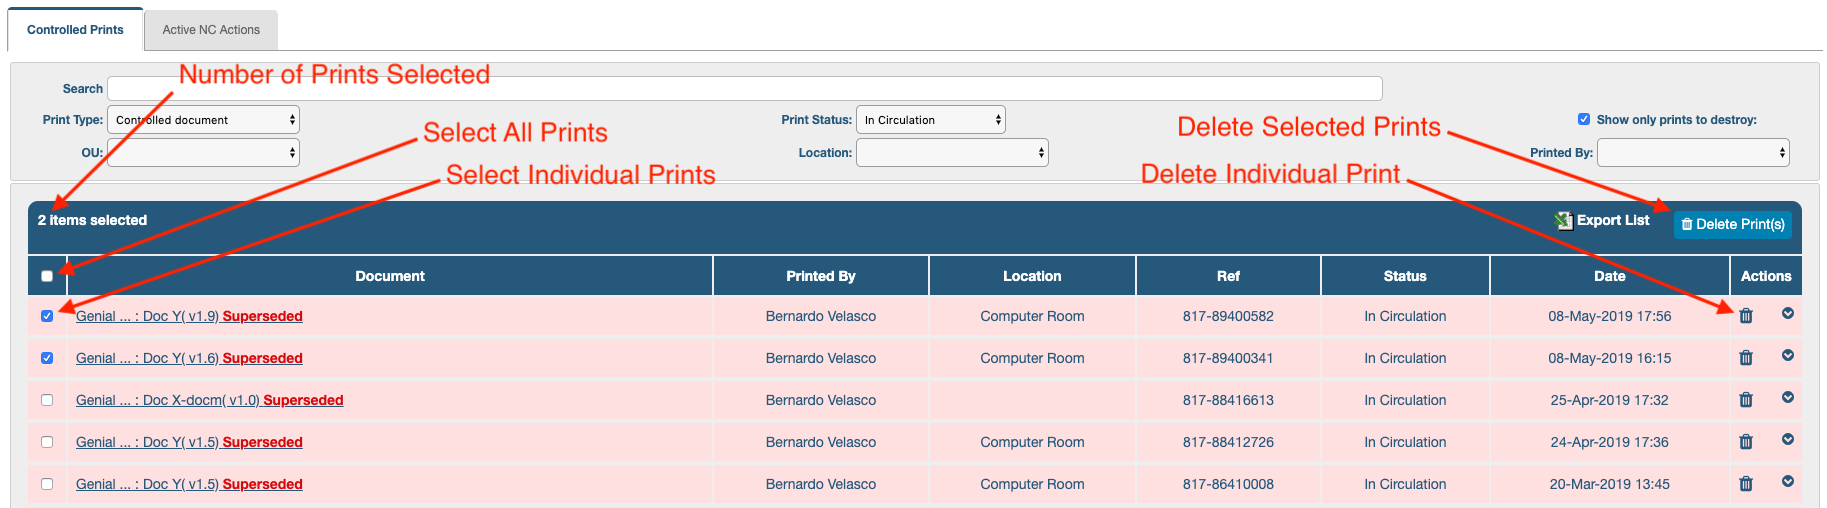
When multiple prints are deleted, the “Destroy Confirmation” appears in a pop-up window (lightbox) but it performs the same operation.
Active NC Actions
The user can view all active Non-Compliance actions as well as filter the search results to find a specific action.
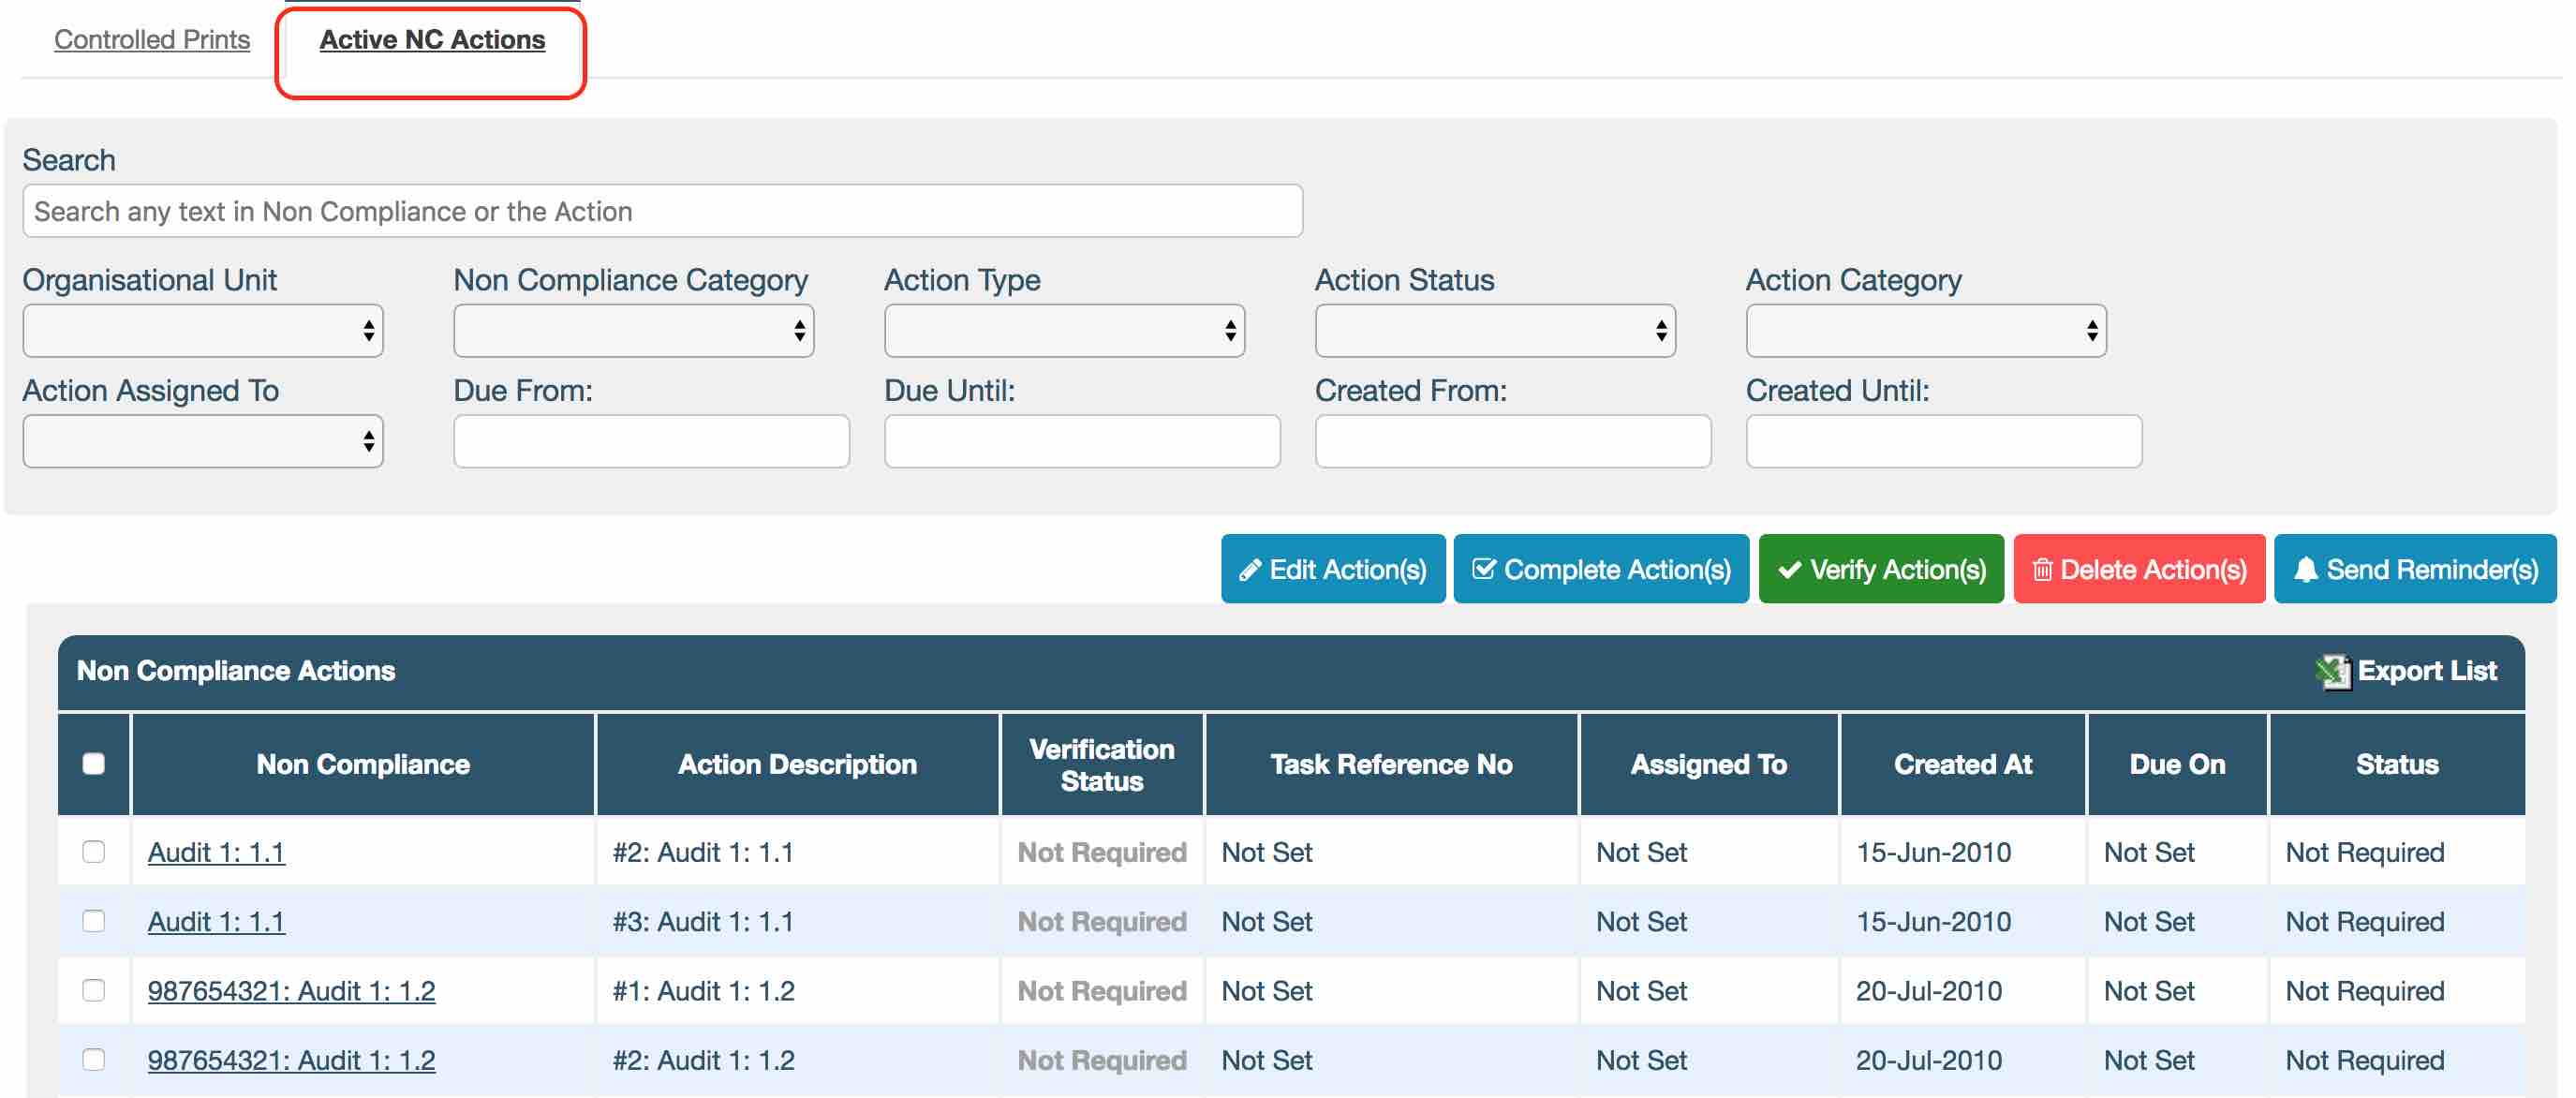
The options found here are very similar to the options found in the ‘Actions’ tab of a Non-Compliance - see Editing an Action in the Non-Compliance User Guide.
Edit Action(s)
Once an action has been created, it will appear in this list and it is possible to edit it. To do this a user needs to select the action to be edited from the select box on the left and click the ‘Edit Action’ button.

This will open the ‘Edit Action’ light-box.
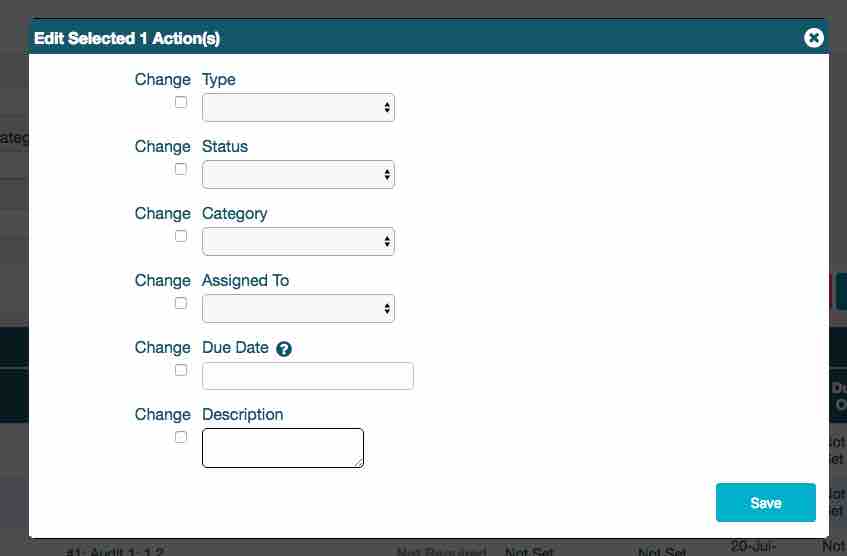
Here the user can change any of the displayed fields by checking the ‘Change’ box and choosing a different option from the dropdown. When a user has made change(s), they need to save the changes by clicking the ‘Save’ button at the bottom of the form in the light-box.
If the ‘Action Needs Verification?’ was checked when the action was created. The action’s ‘Verification Status’ will display in red ‘Needs Verification’.
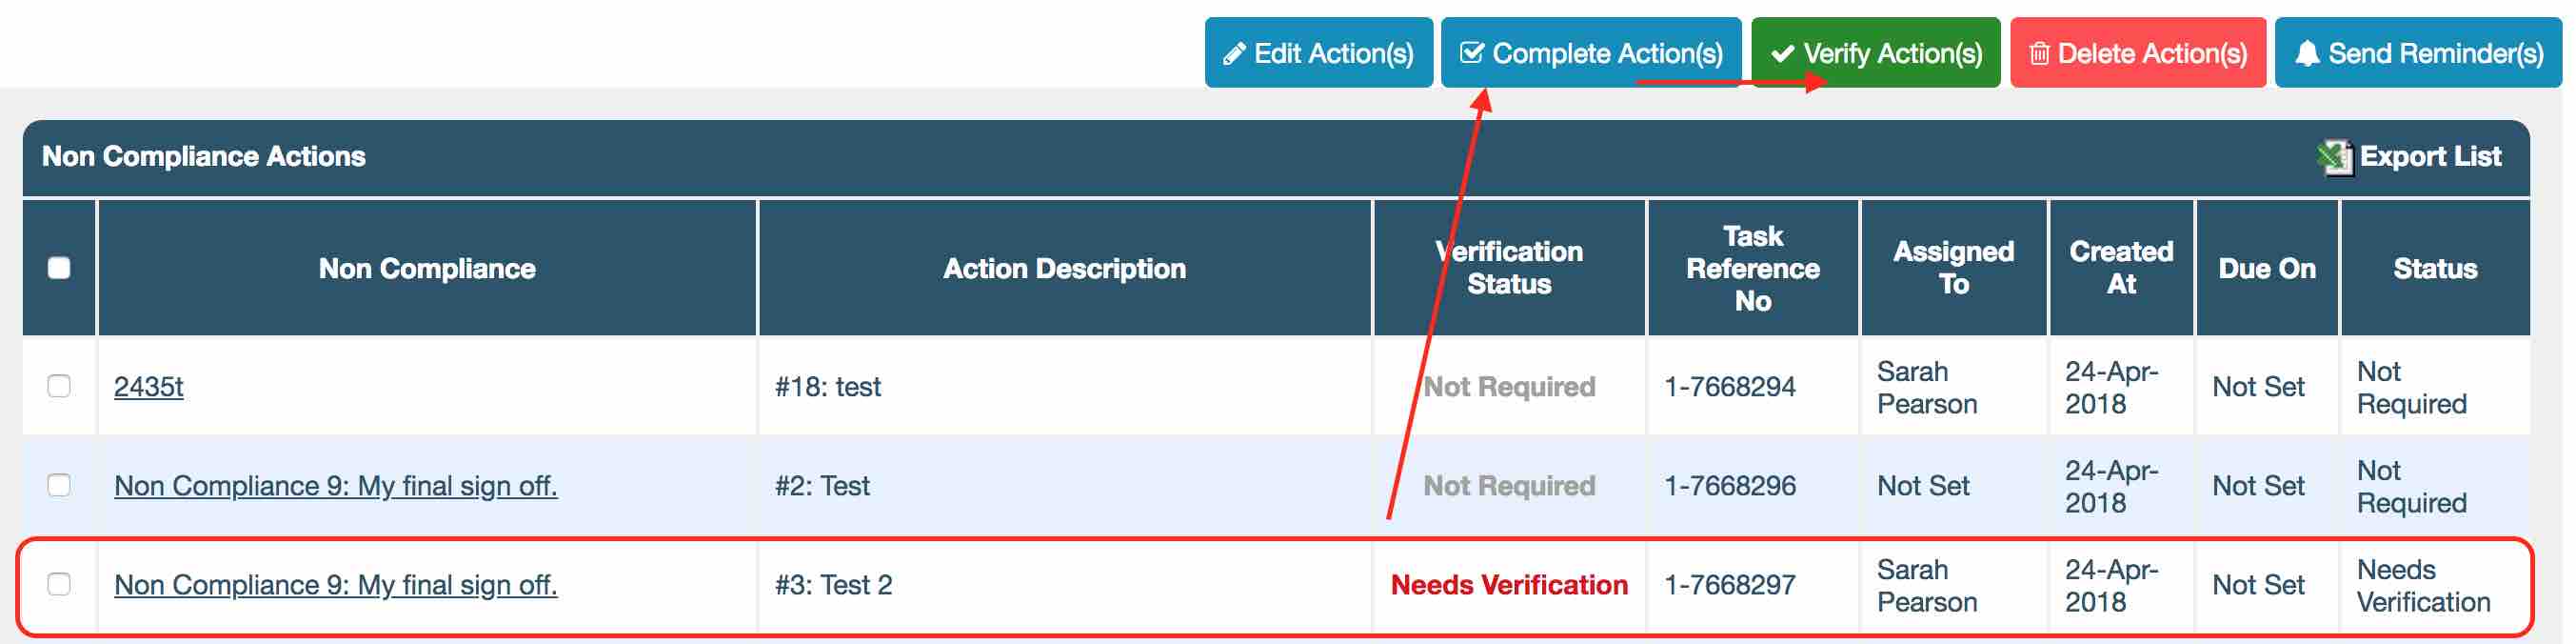
The Action will need to Completed first.
Complete Action(s)
To complete/close an action a user should select an action and click the ‘Complete Action’ button. It’s possible to complete more than one action at once.

This will open the ‘Complete Action’ light-box.
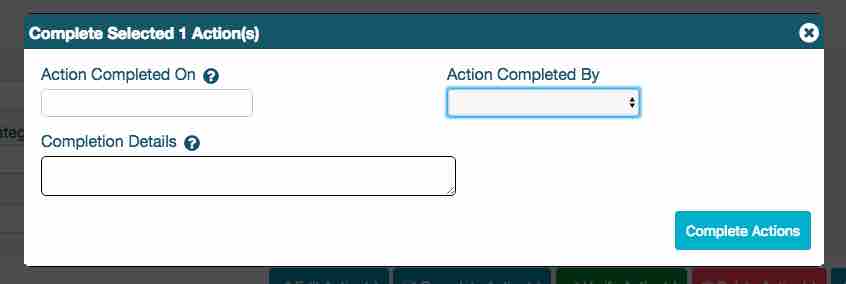
A user can complete multiple actions here.
The Actions selected should be completed by the same user, on the same date and have the same completion details
A completion date is required, this can be added via the ‘Action Completed On’ field. It is recommended that the user uses the calendar by clicking in the field.
‘Action Completed By’ allows to specify which user completed the action.
‘Completion Details’ can be added as free text, the field allows for pasting details but formatting may be lost.
When all the fields have been completed the user needs to click on the ‘Complete Actions’ button.
The light-box will close and return the user to the ‘Active NC Actions’ screen. If verification was required the status will now be ‘Awaiting Verification’.

The user can search for the completed actions by changing the filter ‘Action Status’ to ‘Completed’.
Once an action has been completed it is no longer possible to edit the action, however it is still possible to delete the action.
Verify Action(s)
If verification was required for an action it is possible to do this once the action has been completed. To verify the action select the action to be verified from the select box on the left and click the ‘Verify Action’ button.

This will open the Verify Action light-box.

A user can verify multiple actions here.
The information populated here will affect all actions selected. Make sure the Actions are either Verified or Rejected, verified on the same date and by the same user. They also need to have the same verification details.
Should the action(s) need to be rejected then a user would select ‘Reject’ from the ‘Verify/Reject’ dropdown.
A verification date is required, this can be added via the ‘Verified On’ field. It is recommended that the user uses the calendar by clicking in the field.
‘Action Verified By’ field allows to select a user that verified the action.
‘Verification Details’ can be added as free text, the field also allows for pasting details but formatting may be lost.
Once the details have been added the user can verify/reject the action by clicking the ‘Complete Actions’ button.
The light-box will close and return the user to the ‘Active NC Actions’ screen. The Actions ‘Verification Status’ will now be ‘Verified’.

Delete Action
If a user has created an action that is no longer required then it is possible to delete the action. To do this a user would select the action to be deleted and click the ‘Delete Action’ button.

This will open the ‘Delete Action’ light-box.

To delete an action user needs to enter a reason for deletion and click the ‘Delete Action(s)’ button. Alternatively user can click on the ‘X’ in the top right corner to exit without deleting selected actions.
All delete events are stored in the ‘Actions History’ area.
Send Reminder
If an Action is about to reach its due date or is past it, the user can send reminders for the staff member to complete the action.

This will open the send reminder light-box.
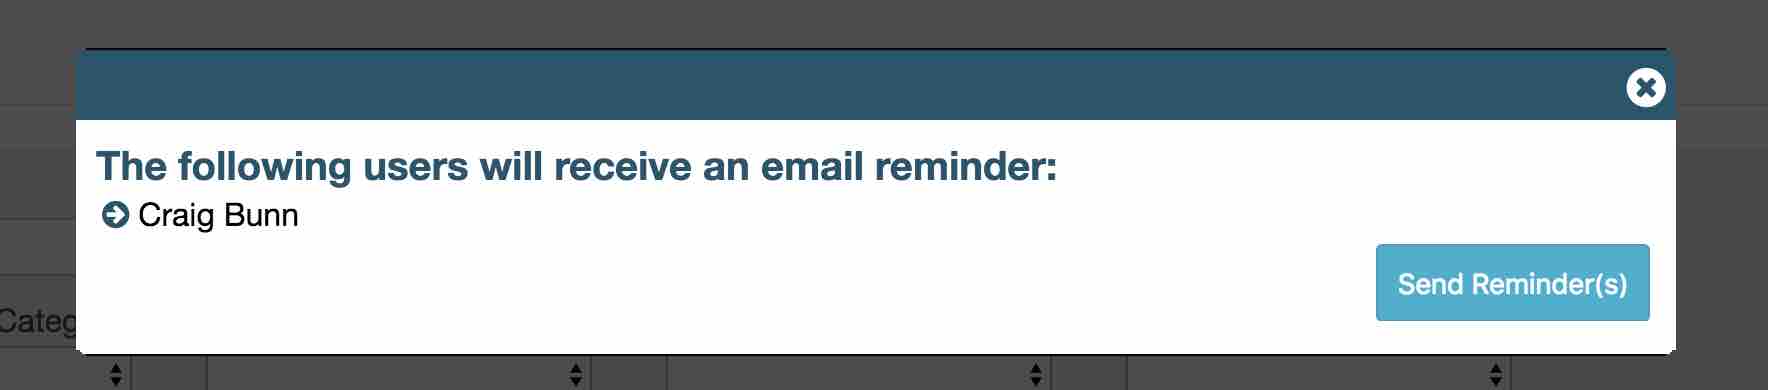
The user can see the name of staff member(s). Click ‘Send Reminder(s)’ to notify them of their task.