- Locations - Sections
Locations - Sections
Introduction
Locations can have different uses and interpretations within iPassport. They can be used to refer to a physical location where a printed document or a reagent is kept and they can also be used to help classify records. For example, Locations can be used as Sections in controlled documents to further specify their destination (e.g., a microbiology department might have sections like ‘anaerobic bacteriology’ and ‘parasitology’).
To define their purpose and scope, Locations are associated with OUs and Tags. It’s necessary to assign appropriate OU(s) and Tags to make them available for selection within any given record.
Permissions
The following permissions are available to manage users’ level of access in the Locations area:
| Permission | Description |
|---|---|
| Locations:View Locations | Allow a user to view locations |
| Locations:Edit Locations | Allow a user to edit locations |
| Locations:Create Locations | Allow a user to create locations |
| Locations:Delete Locations | Allow a user to delete locations |
| Locations:Link To Records | Allow a user to create links to and from locations |
| Locations:Remove Links | Allow a user to remove links attached to locations |
| Locations:View History | Allow a user to view the change history for locations |
| Desktop:Show Locations Menu Item | Show the Administration > Locations menu item |
There is only one system role which holds these permissions - Administration Editor. However, these permissions are for managing the locations, not for using them. The ability to use locations within records depends on the user’s level of access to the record in question.
Viewing Locations
Locations are found under the Administration menu.
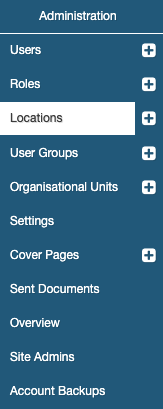
Clicking the Administration > Locations menu item opens the Search Locations tab.
The following search tools are available:
- There is a Search field where a location’s name, code or address can be entered (even partially) and matching records will be listed below.
- The OU field allows selecting an organisational unit from the dropdown list; it will narrow results to locations associated with the selected OU and leaving it blank will produce a list of all locations.
- The Tag field allows identifying which locations have one of the following tags:
- ‘Blank’ - locations with any or no tags
- General
- Incident Report
- Meeting Room
- Storage
- Inactive locations can be viewed by clicking the field marked, Active/Inactive and toggling the selection.
- Locations can also be sorted by one of the following options under, Order Results By:
- Name (A-Z) - long name
- Name (Z-A) - long name
- Code (A-Z)
- Code (Z-A)
- Short Name (A-Z)
- Short Name (Z-A)
- Main Contact (Surname A-Z)
- Main Contact (Surname Z-A)
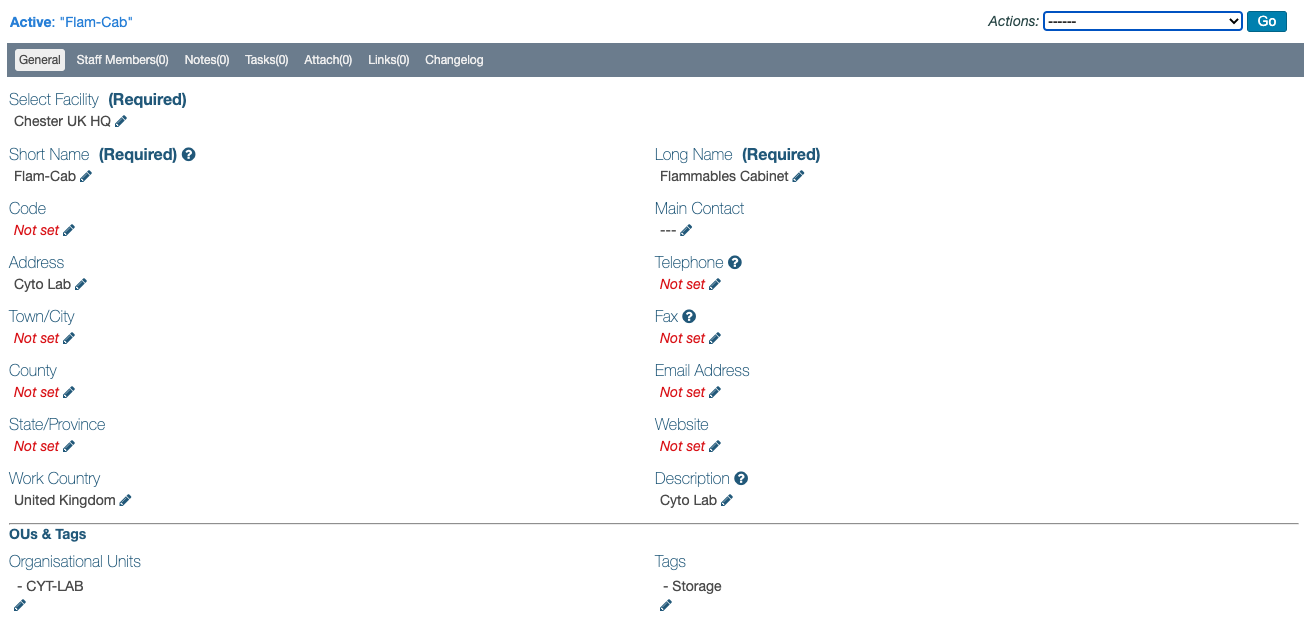
As with other items in iPassport, locations have a “Short Name” and a “Long Name”. The long name allows for a more detailed description, whereas the short name is preferable when used in codes or indices and for quick reference.

Creating Locations
When first created, locations are generic. The next section explains how they can be assigned different uses within iPassport. They are normally created in the dedicated Locations area but they can also be created on the fly when raising an incident report.
To create a Location in the Administration module:
- Go to Administration > Locations > New Location (the [+] sign next to menu items provides a shortcut to their record creation page)
- Enter a Short Name for the location; this must be unique within the account
- Enter a Long Name for the location; this must also be unique within the account
- A Code can be entered for additional identification; this is a free text field
- A Main Contact can be added too; a search-as-you-type field produces a dropdown list of matching names from which the contact must be picked by clicking their name
- Address details can be entered in the fields provided, if appropriate
- A Description can be entered in the free text field available
- The OUs & Tags section is described below; it can be populated or edited after the location is created
- Click Create Location to finish
Creating Locations within Incident Reports
When creating or editing an incident report form, the field, Incident Location has a plus (+) sign which opens the Create New Location lightbox. This helps complete the report quickly and easily during potentially hurried moments when an incident occurs.
Assigning Uses to Locations (OUs & Tags)
Once a Location is created, if the user has the permission, “Locations:Edit Locations”, then edit (pencil) icons will be available to edit any of the fields on the page.
The bottom section of the General tab, marked OUs & Tags, allows defining where and how a location can be used.
OUs
The location will only be visible in the OUs which are added in this page. The exception to this is when printing records which don’t have an OU like, Meetings, Training Courses or Checklists. In these cases, all locations are made available as print locations.
To add OUs:
- Click the edit (pencil) icon under Organisational Units to reveal a selection filter
- Tick the checkbox of selected OUs (there is no restriction on the number of OUs which can be selected)
- Click Save
Location Tags
The use which can be given to a location is generally defined by its tag(s). Some uses don’t require a tag. Multiple tags can be added to one location so it can be used for different purposes. Only the tags supplied with iPassport can be used; location tags cannot be created or modified.
To assign Tags to a location:
- Click the edit (pencil) icon under Tags to reveal a selection filter
- Tick the checkbox of selected tags (there is no restriction on the combination of tags which can be selected)
- Click Save
The tags available provide the following uses for locations:
- General
- as a Usage Location for Equipment
- as a Section for Controlled Documents
- Incident Report
- as an Incident Location in Incident Reports
- Meeting Room
- as a Location for Meetings
- Print
- as a Location for controlled prints of Documents
- Storage
- as a Storage Location for Equipment, Reagents and Materials
- as a Location of use for Reagents and Materials
The following uses don’t require a tag:
- as a Work Location in Staff Profiles
- as a Location of Internal and External Audits
- as a Location of a Non-Compliance
Using Sections in Document Index Generation
The Short Name of Locations (referred to as, Sections in this instance) can be used as part of a controlled document index generation recipe.
As an example, an SOP is created for the OU, Blood Sciences (short name, BS ) and specifically, for a location named Lab Room 03 (short name, L03 ). A recipe which references the SOP’s OU (%ou) and Section (%section) and has a sequential number (%id) could look like, “%ou-%section-%id” = “BS-L03-56”.
This is done in the Index Generation page of individual OUs under Administration > Settings > Organisational Unit Preferences. Full details are found in the Index Generation section of the System Settings Management user guide.
Inactivating Locations
Locations can’t be deleted but they can be made inactive so they stop appearing in listings. If already in use, a location will not be removed from the records which make reference to it.
To inactivate a location, open it, select the Action, Set as Inactive and click Go.
As described above, inactive locations can be viewed by selecting the option from the Active/Inactive filter in the Search Locations tab.