- Printing Management
Printing Management
Introduction
Within iPassport it is possible to print almost all documents and records. Printing is restricted by permissions. There are permissions for each type of record to make it possible to only allow printing of certain types of records within a given OU. In addition to having the permission to print a given type of record, the user needs permissions to be able to access the area and the record in the first place.
Settings
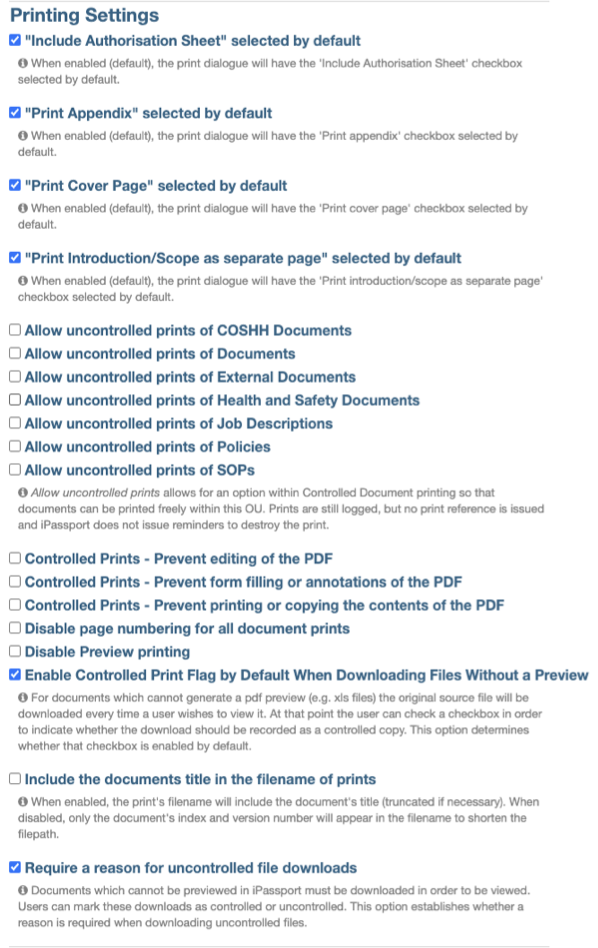
There are Organisational Unit preferences (under Administration > Settings > OU Preferences) that allow users to print uncontrolled copies, as described below in the, Printing a Controlled Document Form section. There is one preference for each type of controlled document.
There is also a set of OU preferences to prevent from editing, filling forms or extracting content from controlled prints.
The ability to print previews can also be disabled for a specific OU, regardless of user permissions. The ‘PDF Preview’ button is available to anyone who can open the document, so the preference only prevents printing to paper.
The filename of PDF files delivered when a document is printed only includes the index and the version, to keep the path short. The title of the document can be included in the filename if the preference, ‘Include the documents title in the filename of prints’ is enabled.
Under System Preferences, it’s possible to set paper sizes and where to place control information of controlled prints.
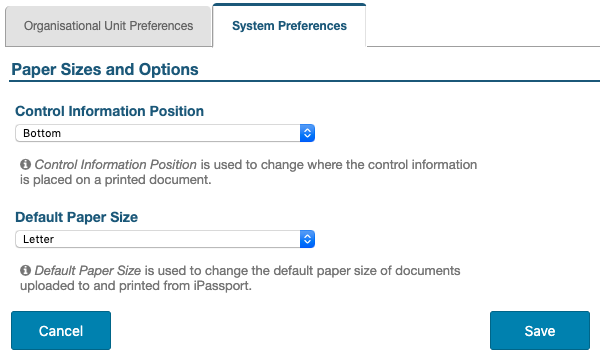
The user guide, System Settings Management provides further detail.
Adding a Location
The main purpose for adding a location to print records is to declare where a printed document should be found. This is especially important when a document is replaced with a newer version and all previous printed copies need to be destroyed.
A location in iPassport does not have to be a physical place; it can be named and refer to ‘Public Distribution’ or ‘Online Storage’, for example.
For locations to be available when printing a record, they need to be associated with the record’s OU and they need to have the tag, ‘Print’. Information on how to create and manage locations’ OUs & Tags can be found in the user guide, Locations - Sections.
Printing Non-Controlled Records
The only way to print a record within iPassport is via the actual record. It is not possible to print a record without accessing it. To demonstrate printing, this guide will show examples from three different areas.
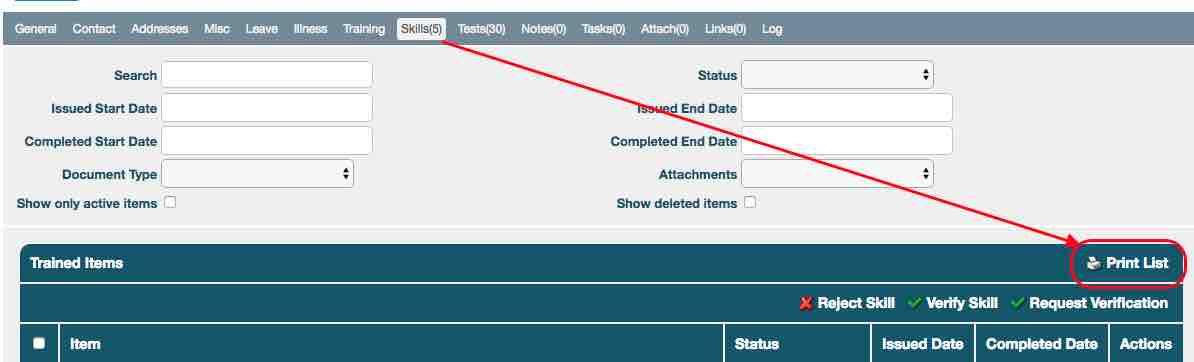
In addition to the standard print option detailed in the three examples, there are also a number of ‘Print List’ options. The ‘Print List’ option creates a PDF of the search results displayed. This is a quick list print. For example, to print a current skills list of a particular staff member: Personnel Management -> Staff Profiles -> Search Staff -> locate the staff member – enter the record -> Skills tab -> option to ‘Print List’.
This function is not to be confused with the ‘Export List’ option. This creates a CSV report of the search results, an example of this would be within: Laboratory Records -> Controlled Documents -> Search Documents -> perform a search (space, back-space gets a full list) -> option to ‘Export List’.
Printing an Audit Report
To print an audit report, go to:
Quality Management -> Internal Audits -> Recent Internal Audit -> locate the internal audit to print -> enter the internal audit record -> expand the drop down menu -> select ‘Print’ -> click ‘Go’.
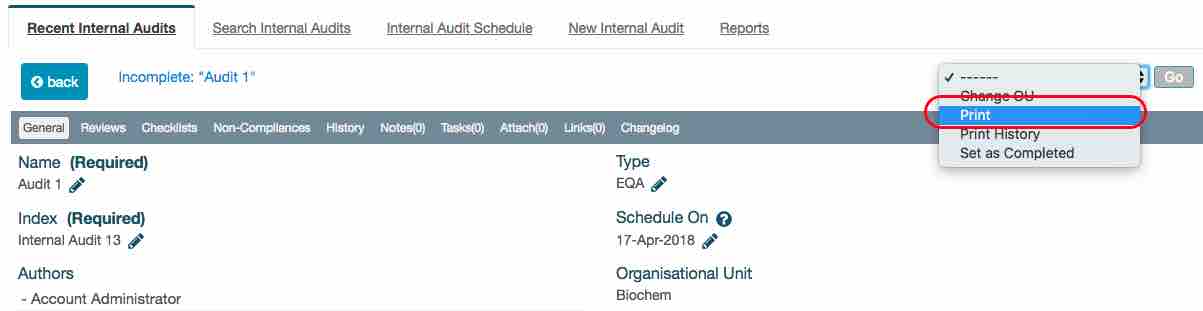
This opens the internal audit print lightbox.
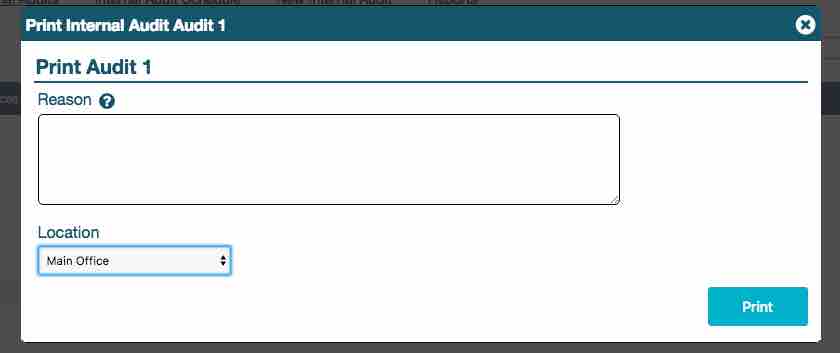
This allows a user to print the internal audit with the checklist or without; the checklist is selected by default. Should there be more than one checklist then a user can choose to print one, all, or none of them.
To print the internal audit, simply click the ‘Print’ button.
Depending on the browser setting used, the file will either download or open directly in the browser.
Printing a Meeting
To print a meeting go to:
Laboratory Management -> Meetings -> Search Meetings -> locate the meeting to print -> expand the drop down menu found in the top right of the header -> select ‘Print’ -> click ‘Go’.
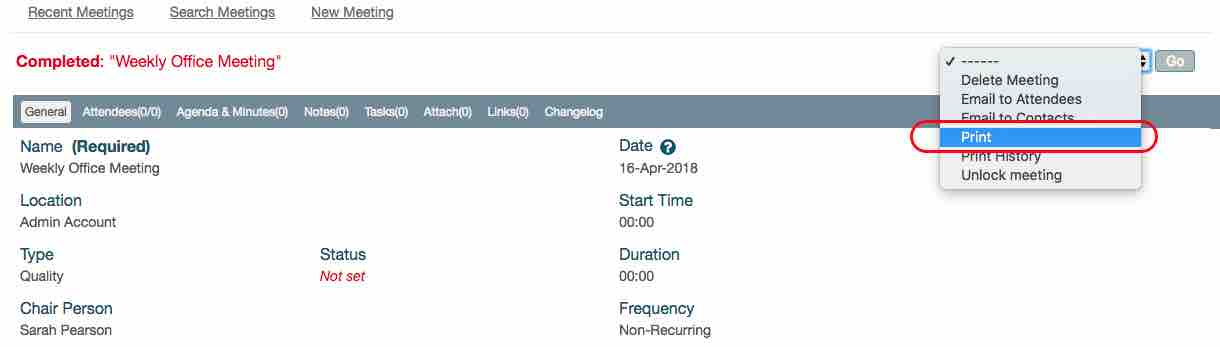
This will open the print meeting lightbox.
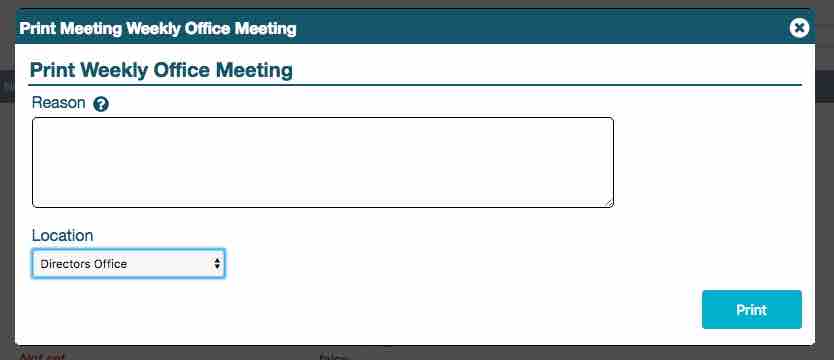
The ‘Location’ is selected in alphabetical order from the locations available to the OU the meeting is held in.
When printing a meeting the ‘Reason’ field is an optional field, although it does help keep track within the ‘Print History’ of the meeting (also found under the drop down menu).
To print the meeting, simply click the ‘Print’ button.
Printing an Equipment Record
To print an equipment record, go to:
Laboratory Records -> Equipment -> Search Equipment -> locate the equipment record to print -> expand the drop down menu -> select Print -> click ‘Go’.
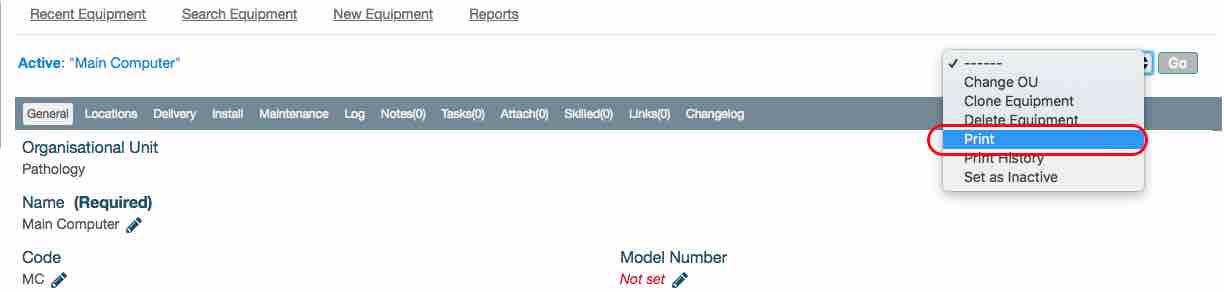
This opens the equipment print lightbox.
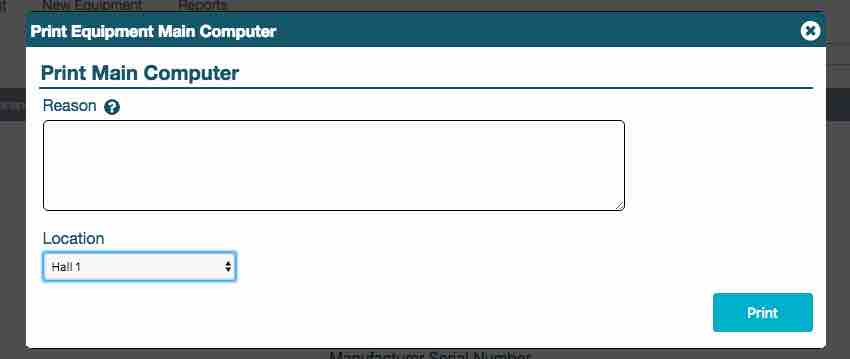
The ‘Location’ is selected in alphabetical order from the locations available to the OU the equipment record is held in.
When printing an equipment record the ‘Reason’ field is an optional field, although it does help keep track within the Print History of the equipment (also found under the drop down menu).
To print the meeting, simply click the ‘Print’ button.
Printing Reports
Reports can be found in almost all modules of iPassport, and allow a user to generate a pre-defined list of information either in a PDF format, or export it in CSV format. All reports have their own tab in each area; this is simply called Reports. For example navigate to Laboratory Records -> Controlled Documents -> Reports.
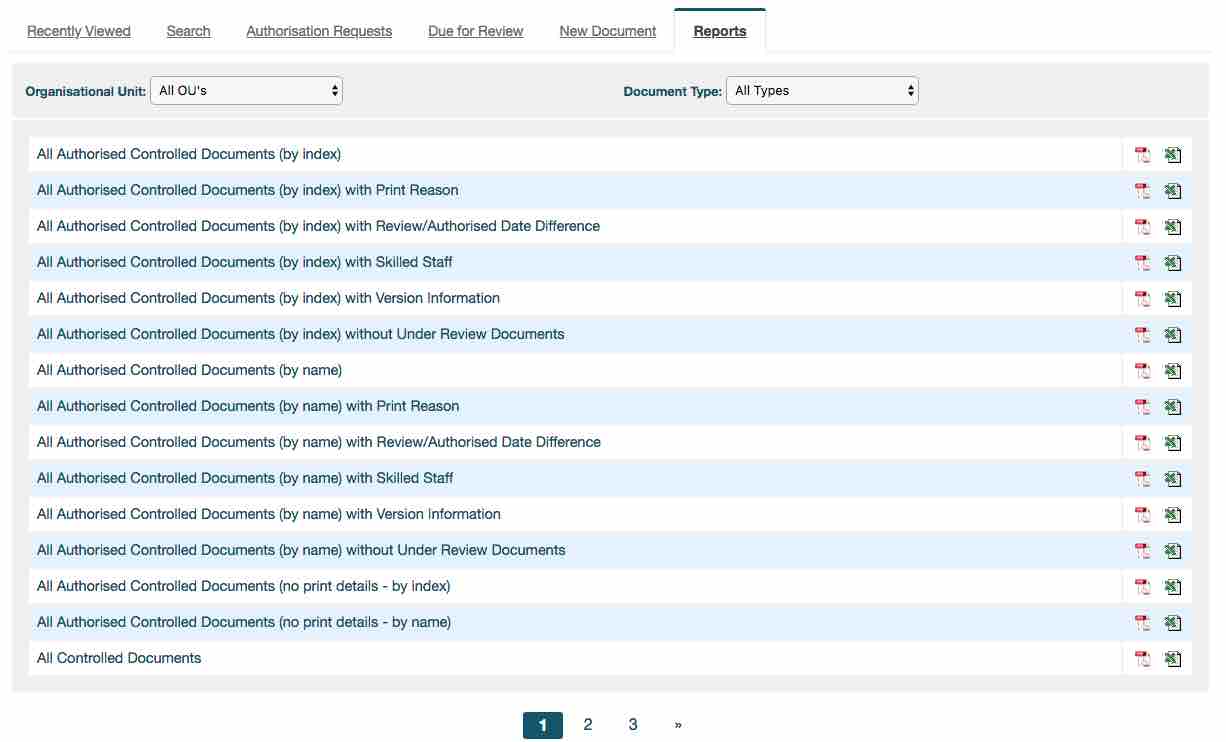
The options available for reporting are the ‘Organisational Unit’ for the report and the ‘Document Type’. The ‘Organisational Unit’ option is available in all reports, whereas the ‘Document Type’ option is only available in a limited number.
To obtain a PDF copy, simply click the PDF symbol. Alternatively, click the Excel™ symbol for a CSV copy.
Printing a Controlled Document
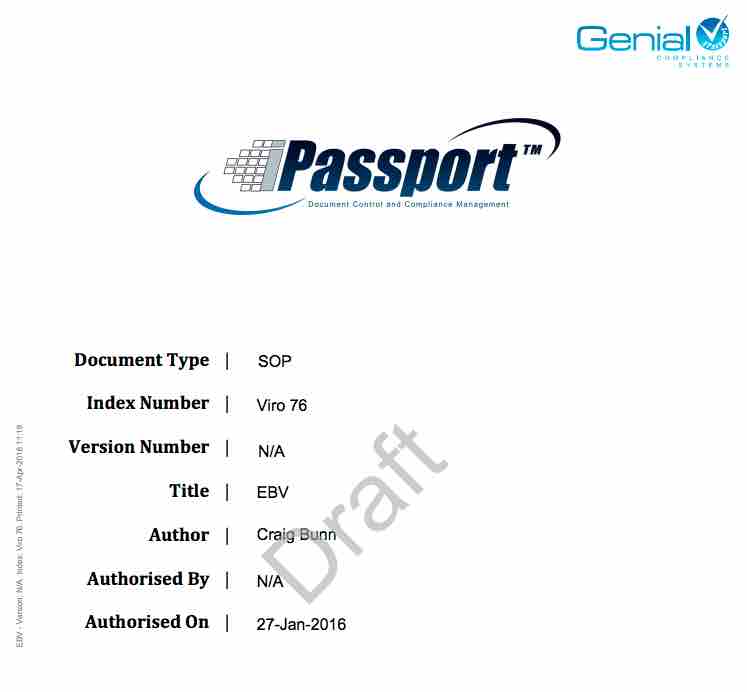
iPassport QMS prints all controlled documents as secure PDF files. This means that all are watermarked to a greater or lesser degree depending on the watermark options chosen in Administration (if any are chosen).
There are defined pathways for printing both draft and authorised documents from iPassport QMS, with all authorised documents being clearly monitored by the system.
All PDFs are generated from within iPassport QMS, no external PDF writing software is required.
The examples below are for SOPs, however, the same principle applies to all controlled documents.
Printing a Draft SOP (Option 1)
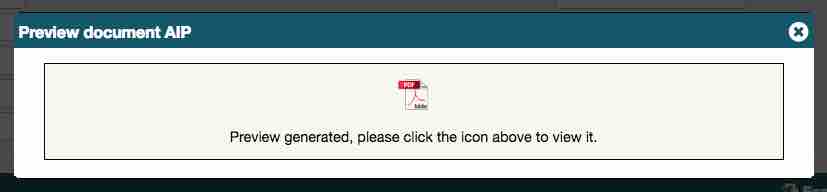
From within the Draft SOP, select the PDF icon- Download Document Preview.
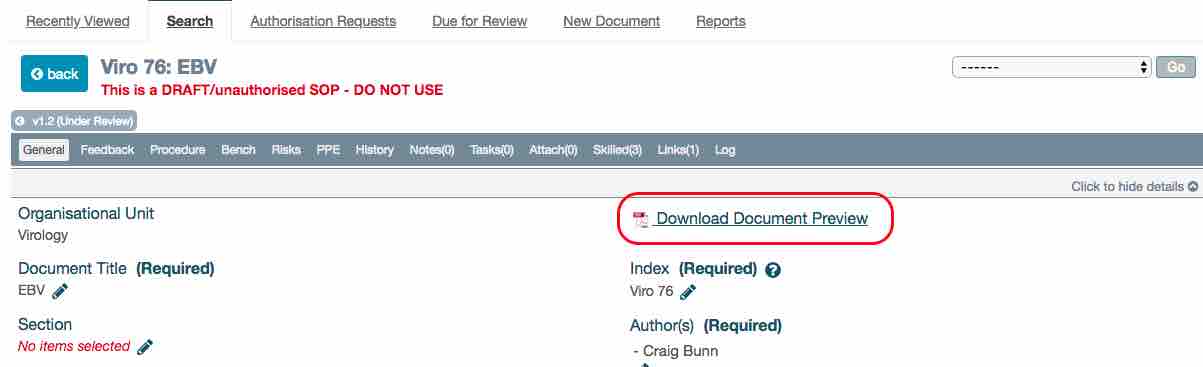
This will then allow for the PDF document to be opened. Once the document is open, select the print icon within the PDF reader.
Please note that the document has to be opened in order to print.
NOTE: The printer icon may be in different locations depending on your PDF viewer, this one uses File -> Print
The document will now be printed to the selected printer.
Printing a Draft SOP (Option 2)
Search for the SOP that is to be printed by: Laboratory Records -> Controlled Documents (this defaults to the Search tab)-> select SOP from ‘Document Type’.
This ‘Document Type’ option can be used in conjunction with the ‘Search’ field.
When the search results are displayed, the ‘Actions’ column will show two icons. The magnifying glass icon is the further details (enter the record), while the PDF icon allows a user to access the PDF version of the document.
Should a PDF icon not be visible, then a user may not have permission to see this particular controlled document. Alternatively, it may be that the document uploaded as source is not supported for printing, like an Excel, or an image file.
![]()
Click the PDF icon for the record that is to be printed; this will then display the option to open the PDF document.
To print, click the PDF icon again and this will either download a copy or open it in the browser/ PDF reader depending on browser settings.
Printing an Authorised SOP
If a user is printing the controlled document for general distribution then this is the ideal method as it contains the full control information. By default, the draft prints display Draft and the PDF icons in. Authorised controlled documents display Uncontrolled Copy by default.
From within the SOP to be printed:
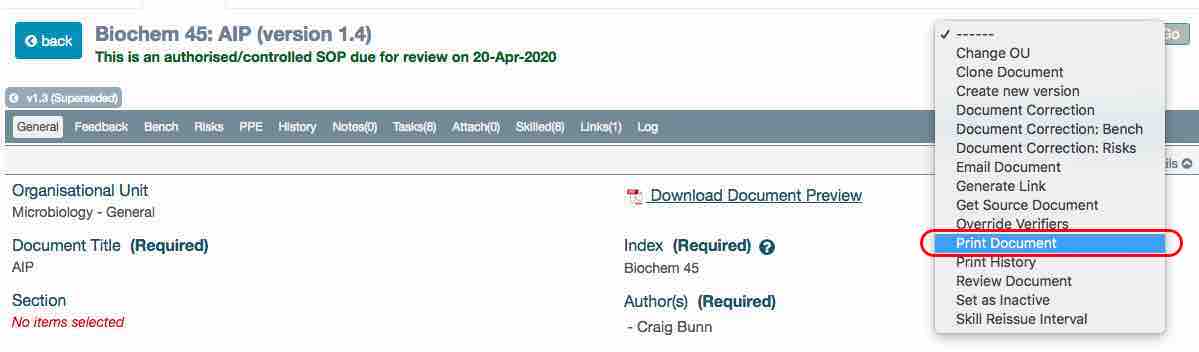
Select the ‘Print Document’ option from the drop down menu.
Depending on a user’s preferences and permissions for the document and OU, they may see fewer options in the drop down menu.
Once selected, click the ‘Go’ button, this will open the ‘Print Controlled Document’ lightbox.
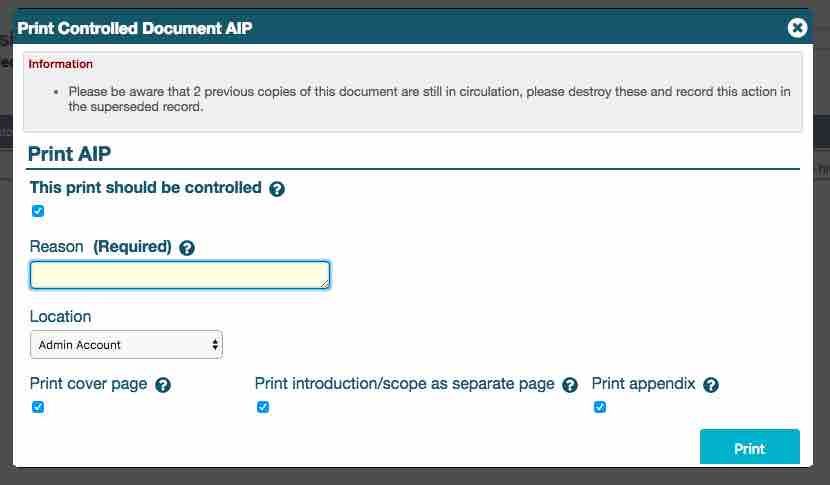
Within the ‘Print Controlled Document’ lightbox there are a number of options. Firstly, an information message is shown where there is a previous controlled print in circulation that needs to be collected in and destroyed.
The ‘This print should be controlled’ checkbox is based on a OU preference, and is selected by default. With this selected, the print details will be recorded in iPassport and when a new version is issued, iPassport will expect the hard copy to be collected in and destroyed.
When printing a controlled document, the ‘Reason’ field is a required field, and this is stored as part of the print history.
With controlled copies, the ‘Location’ also needs to be selected and this is used whenever a user needs to locate the hard copy. The location is recorded so that a user knows where it should reside.
The three remaining fields are all active by default. To remove any of them for the print, simply uncheck them.
-
The ‘Print cover page’ option attaches the cover page for the controlled document type and OU to the front of the document.
-
The ‘Print introduction/scope as separate page’ option adds the ‘Introduction’ and ‘Scope’ from the controlled document as a separate page after the cover page. This is only added if the introduction has been added to the associated field within the controlled document. If this is left blank, then nothing will be printed even if the field remains selected.
-
The ‘Print appendix’ option attaches an appendix to the end of the document. The attachment contains all of the controlled document history, review history, and lined records. If the version has gone through a number of reviews then this appendix can become very long.
If all three options are unchecked then only the source document will be printed. This is the document (normally a Word™ document) uploaded to the ‘Procedure’ tab in the controlled document.
It is possible to only have some of these options active, such as the cover page.
Click the ‘Print’ button and the PDF will be generated.
Printing a Controlled Document Form
Form printing in iPassport refers to printing an authorised controlled document with a full print history, but not requiring the printed document to be collected and destroyed.
To allow form printing, the preference needs to be activated for the OU and controlled document type, which is done via:
Administration -> Settings -> Organisational Unit Preferences -> select the OU -> Document Control -> Allow uncontrolled prints of …… -> Save.
A full print history is stored with these prints.
Then from within the Print Controlled Document lightbox, deselect ‘This print should be controlled’. iPassport will then print this controlled document as a form, and not require its destruction when a new version of the controlled document is issued.
When printing forms a user may wish to use a more general Location e.g, form.
Print History
Within iPassport all controlled document printing, both controlled and uncontrolled prints, are recorded within the print history along with a user, date & time stamp.
The ‘Print History’ is accessed from the drop down menu.
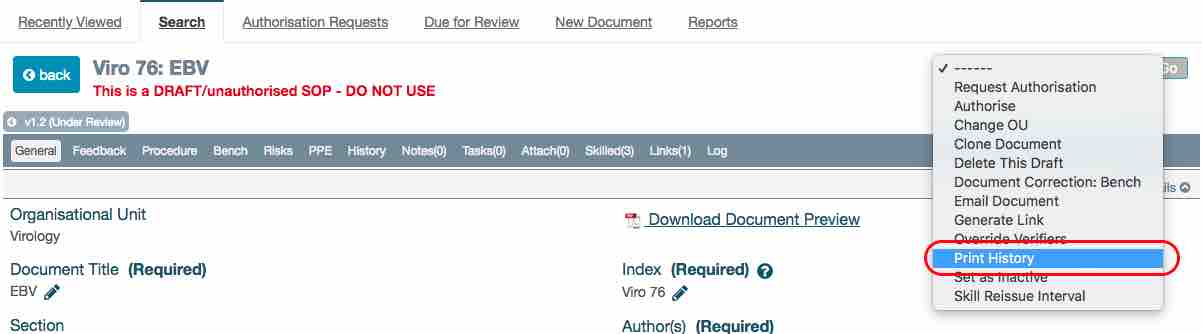
Click ‘Go’. The ‘Print History’ lightbox will appear.
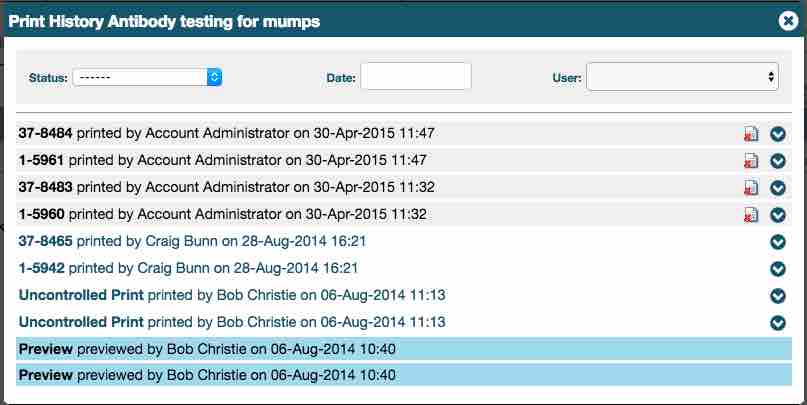
The controlled print is marked with a unique reference number. This number is stored in the print history as well as on the controlled document so that a user can track any document back to the printer.
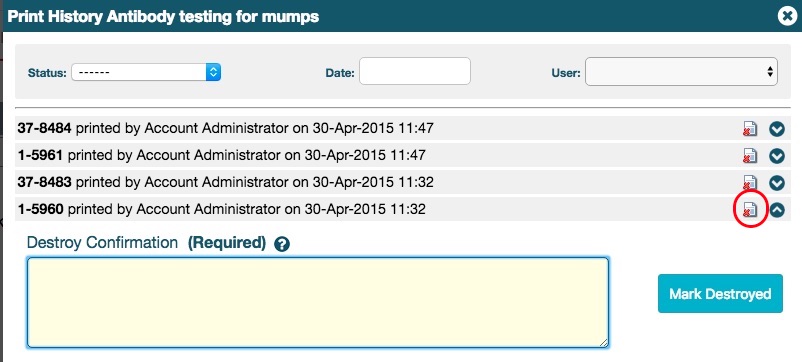
Destroying a Controlled Print
When a new version of a document is released, the previously controlled prints become superseded and would need to be destroyed (uncontrolled forms do not need to be destroyed). This is done through the ‘Print History’ lightbox. For the controlled print to be destroyed simply click the document icon to the left of the expandable chevron icon.
 .
.
Add a ‘Destroy Confirmation’ note and click ‘Mark Destroyed’.
The print will then be greyed out, and expanding this will display the print history along with the destruction history.
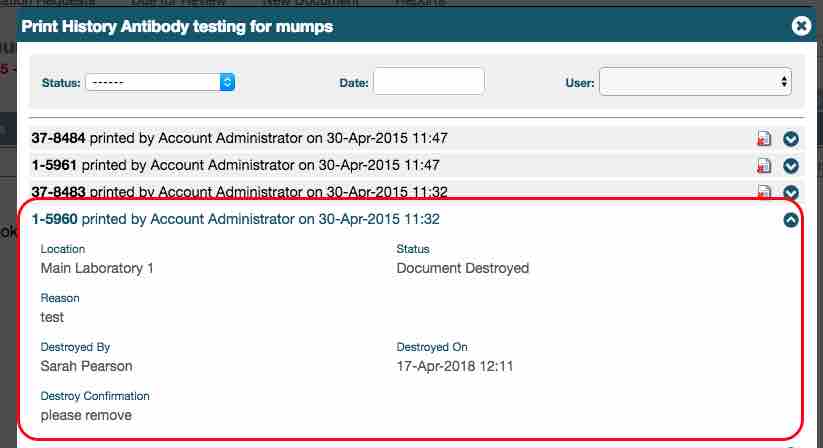
All data is then stored in the Inspection Prep area of the system.
Frequently Asked Questions
Q: Why does my printed document have the watermark Uncontrolled Copy
A: This is shown on all preview prints by default.
A preview print is printing from the PDF icon and not from the drop down menu within the controlled document.
Q: How do I print a draft controlled document?
A: A draft-controlled document is printed from the PDF preview; all draft prints have the watermark DRAFT by default so it is not possible for staff members to become confused should they find this.
Q: Can I save the PDF printed?
A: Yes, you can save the PDF record if you wish. We recommend that if you wish to do this then you treat it is a controlled hard copy record, as there will be a unique print token associated with this ‘printed’ PDF record.