- Inactivate/Reactivate Users
Inactivating Users
After a user has been created they will remain on the account indefinitely to ensure the audit trail is complete. If a user leaves the organisation or needs to be removed from iPassport for any reason, the user should be set to inactive. When a user is inactivated they will no longer be able to login and all reminders/emails will no longer be sent.
There is a ‘Show Inactive Users in lists’ preference that controls whether inactive users should be listed within the system.
This can be found in: Administration > Settings > System Preferences > Miscellaneous Settings
To inactivate a user:
-
Go to Administration > Users > Search Users
-
Select the user’s Home OU from the dropdown menu that appears when clicking the field with that name; if not known, select the ‘blank’ option
-
Enter the user’s name into the Search Users field
The results in the list below will narrow as you type in this field.
-
When the user’s name appears listed below, click anywhere in its row (or the magnifying glass) to open the record
-
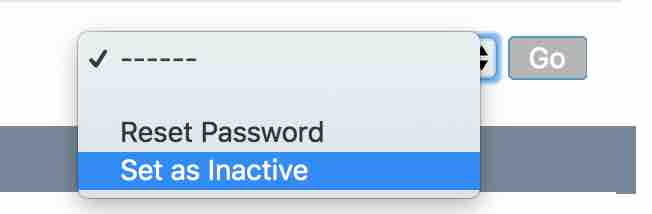
Click in the field, Actions and select the option, ‘Set as Inactive’ from the dropdown menu
-
Click Go to open the ‘Inactivate < user’s name>’ lightbox
-
Follow advice below to complete the operation
Inactivate the Staff Profile
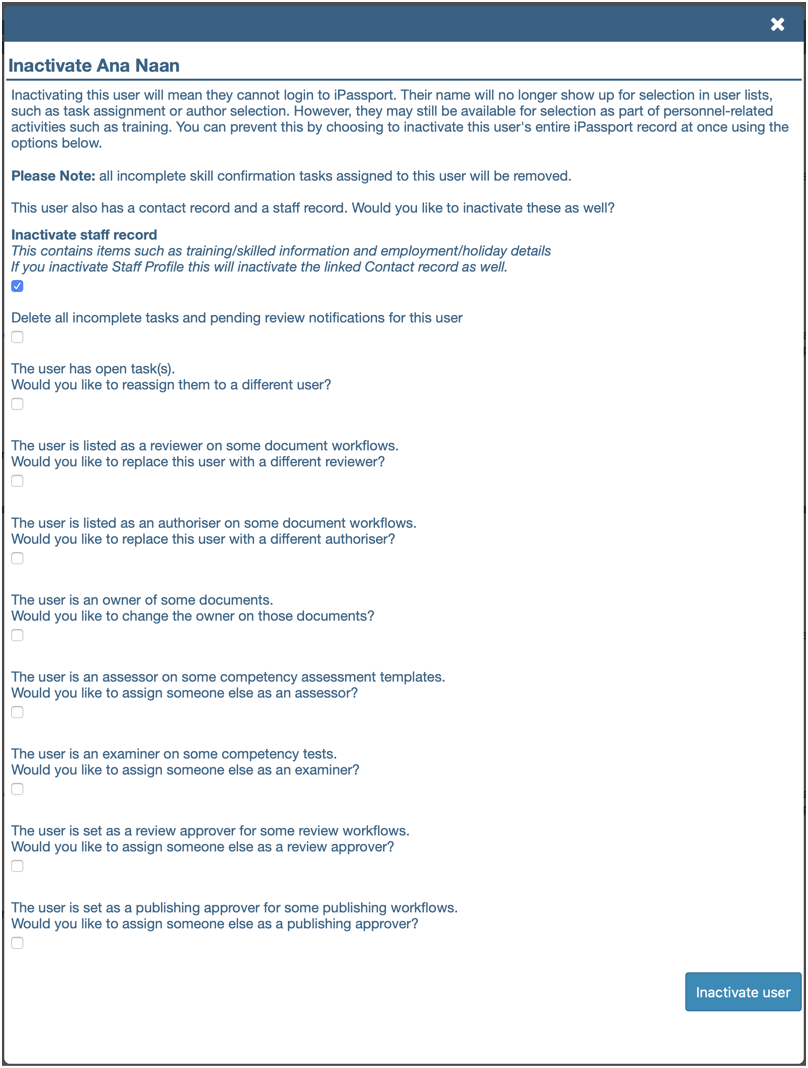
The Inactivate (User Name) light-box will be displayed asking if the Staff Profile should also be inactivated. Inactivating the Staff Profile ensures that the user will no longer be tasked with reading events should they be present on skilled lists. All historic reading task acknowledgments will be faithfully maintained within the inactive staff profile. It is therefore highly recommended to also inactivate the staff profile.
To prevent the user from logging in, but still allow the person to be visible and selectable on all skilled items, un-check the ‘Inactivate staff record’ checkbox. This allows the administrator to manually manage a staff member’s records after the person can no longer log into iPassport.
Transferring tasks
You can remove all pending tasks and notifications by selecting the, ‘Delete all incomplete tasks and pending review notifications for this user’ option.
iPassport also checks and provides the opportunity to transfer the following items to other users:
- If the user has any open tasks
- If the user is listed as a reviewer in any document review workflows
- If the user is an authoriser in any document publishing workflows
- If the user is owner of any documents
- If the user is an assessor on any competency assessment templates
- If the user is an examiner on any competency test templates
- If the user is an approver in any document review workflows
- If the user is an approver in any document publishing workflows
If any of the above need to be reassigned then tick the checkbox under the item and this will open a user selector.
The items are reassigned as a whole, not individually. Equally, if they are to be deleted they are deleted as a whole and not individually. Therefore, it is possible, for example, to reassign all notifications to one user while all tasks can be reassigned to another.
It is important to note that iPassport does not delete any audit history. All completed tasks will remain on the system with the appropriate details and can be searched by a user with suitable permissions.
If any option is selected by accident, click the ‘X’ button in the top right corner of the light-box to abort.
Once the options have been set, the user can be inactivated by clicking the ‘Inactivate User’ button.
A banner message will be displayed informing that the user record has now been set as inactive, and the user record will now appear with a red header.

Reactivating a User Record
An administrator can reactivate a user record at any time.
The process is:
- Go to Administration > Users > Search Users
- Ensure the Home OU filter matches the user’s Home OU or set it to ‘blank’
- Enter the user’s name (even partially) in the Search Users field and results should start filtering below
- Open the record by clicking its row when it appears in the search results
- Click the Actions field (top right of the record) and select, ‘Set as Active’ from the dropdown menu
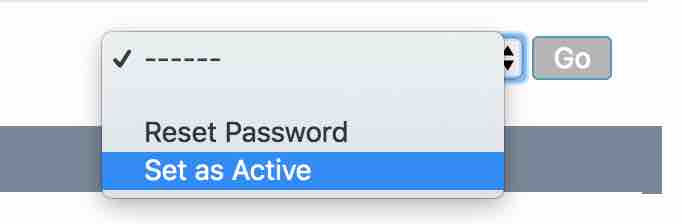
- Click the Go button and the ‘Reactivate < user’s name >’ light-box will be displayed, asking if the user wants to activate the Staff Profile at the same time as the user record; this is recommended
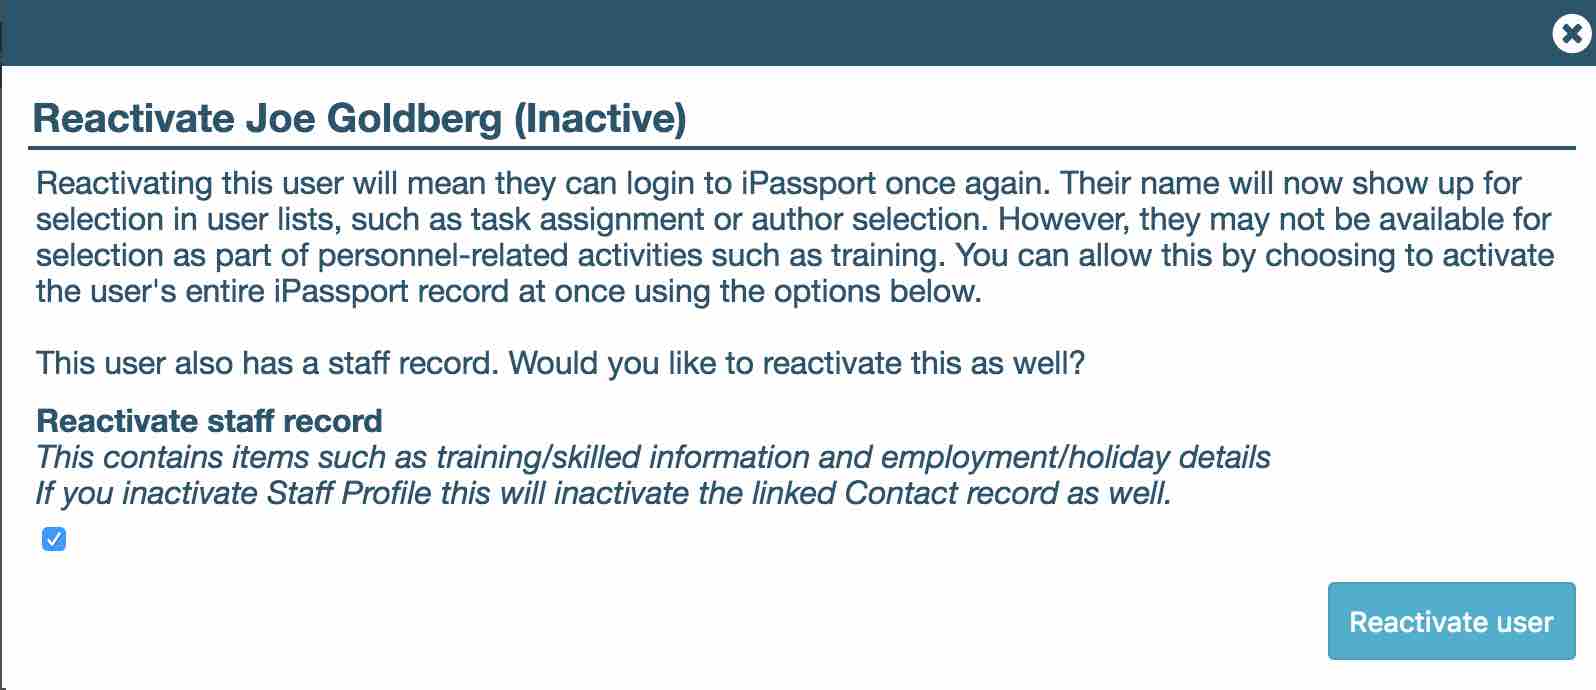
- Click the Reactivate user button to finish
If this operation wants to be cancelled before finishing, click the ‘X’ in the top right corner of the light-box to exit.
A banner message will be displayed informing that the user record has now been set as active and the user record will appear with a blue header.

It is important to note that if previous notifications or tasks were deleted or reassigned then these can not be returned to the user.
Next Step: User Management Tools
Previous Step: Searching and Editing User Records