Release Notes v3.3.3

Password Complexity
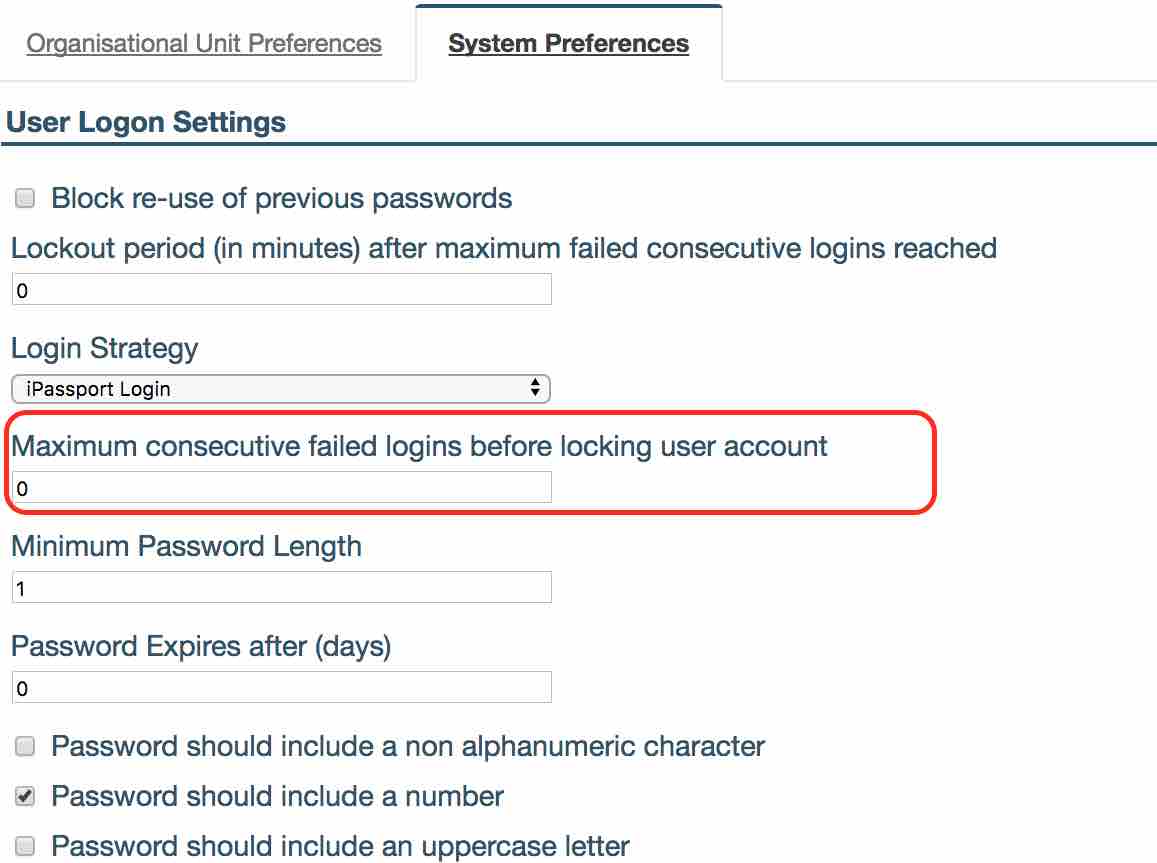
iPassport allows you to customise password complexity settings to force users to include a non-alphanumeric character, number or uppercase letter in their passwords. The settings can be found in ‘User Logon Settings’.
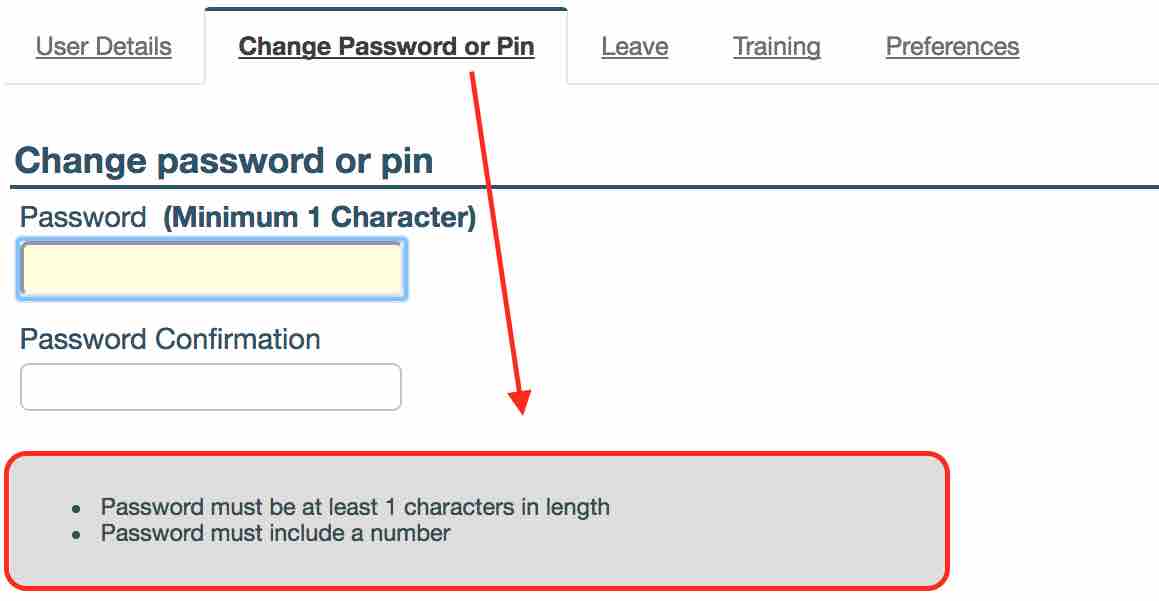
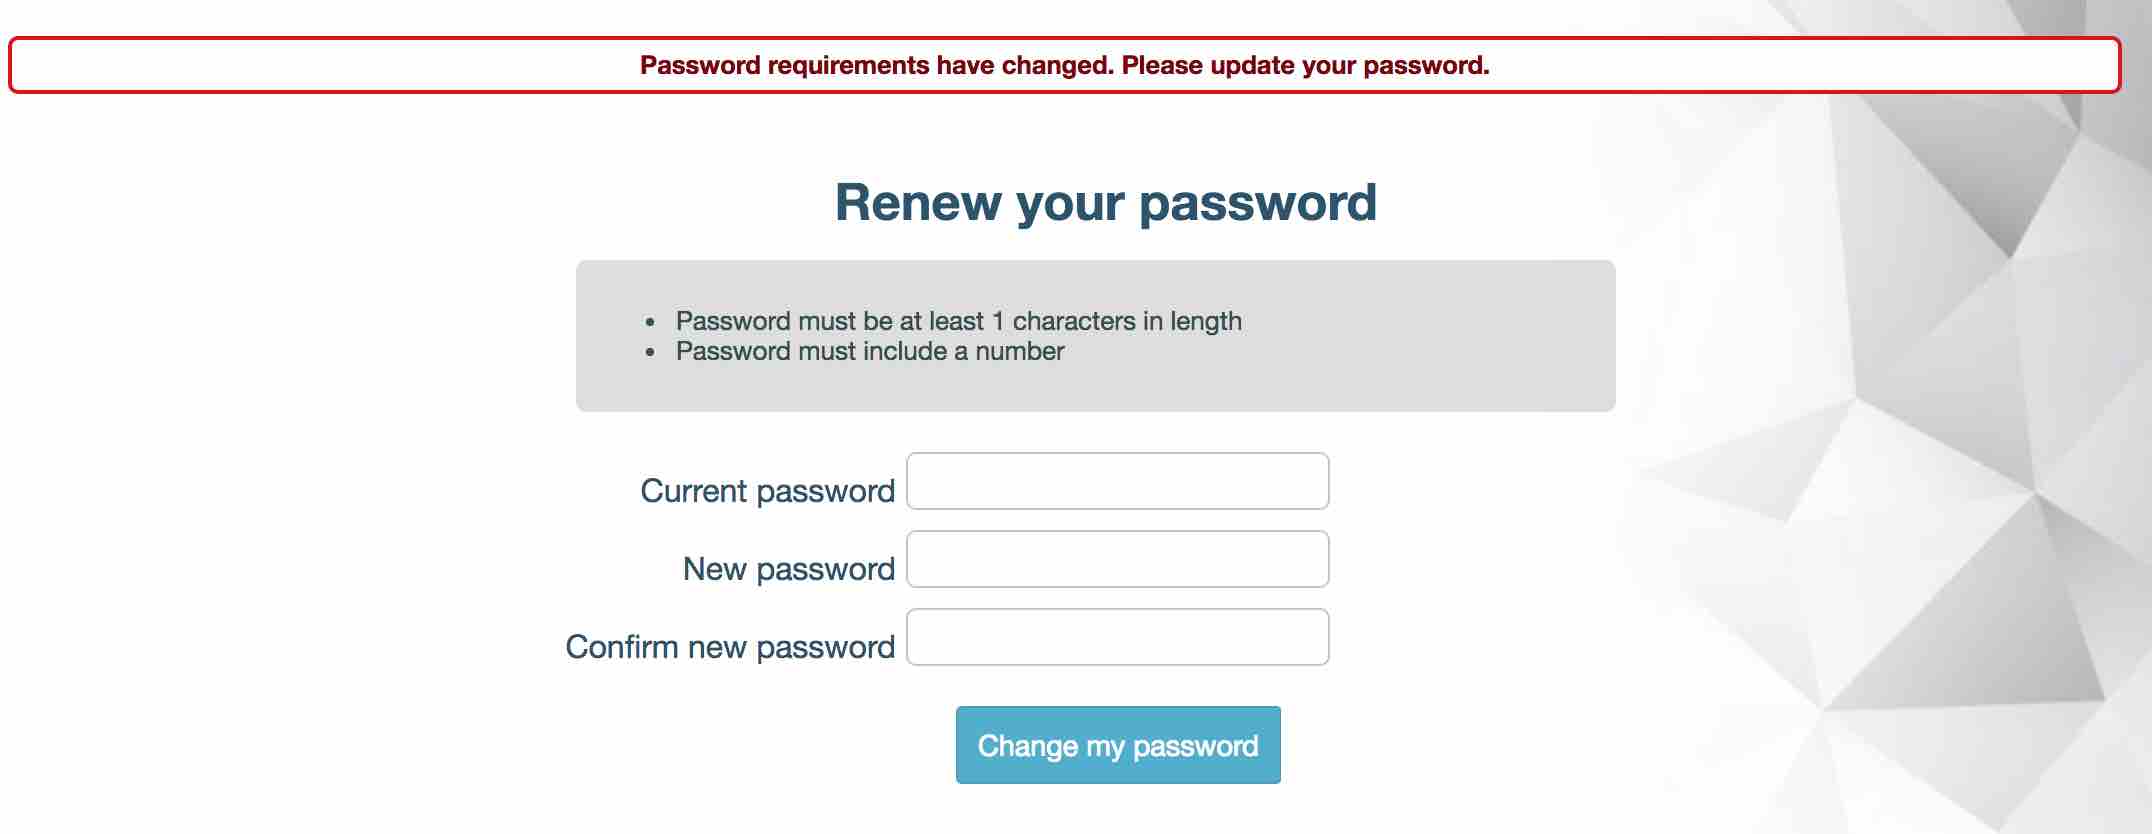
When you are changing your password the system will notify you if your new password does not match the requirements. After the password preferences have been changed, the system will also inform you when you log into the system if your password does not match the new requirements and will prompted you to update it.
- Navigate to Administration -> Settings -> User Logon Settings.
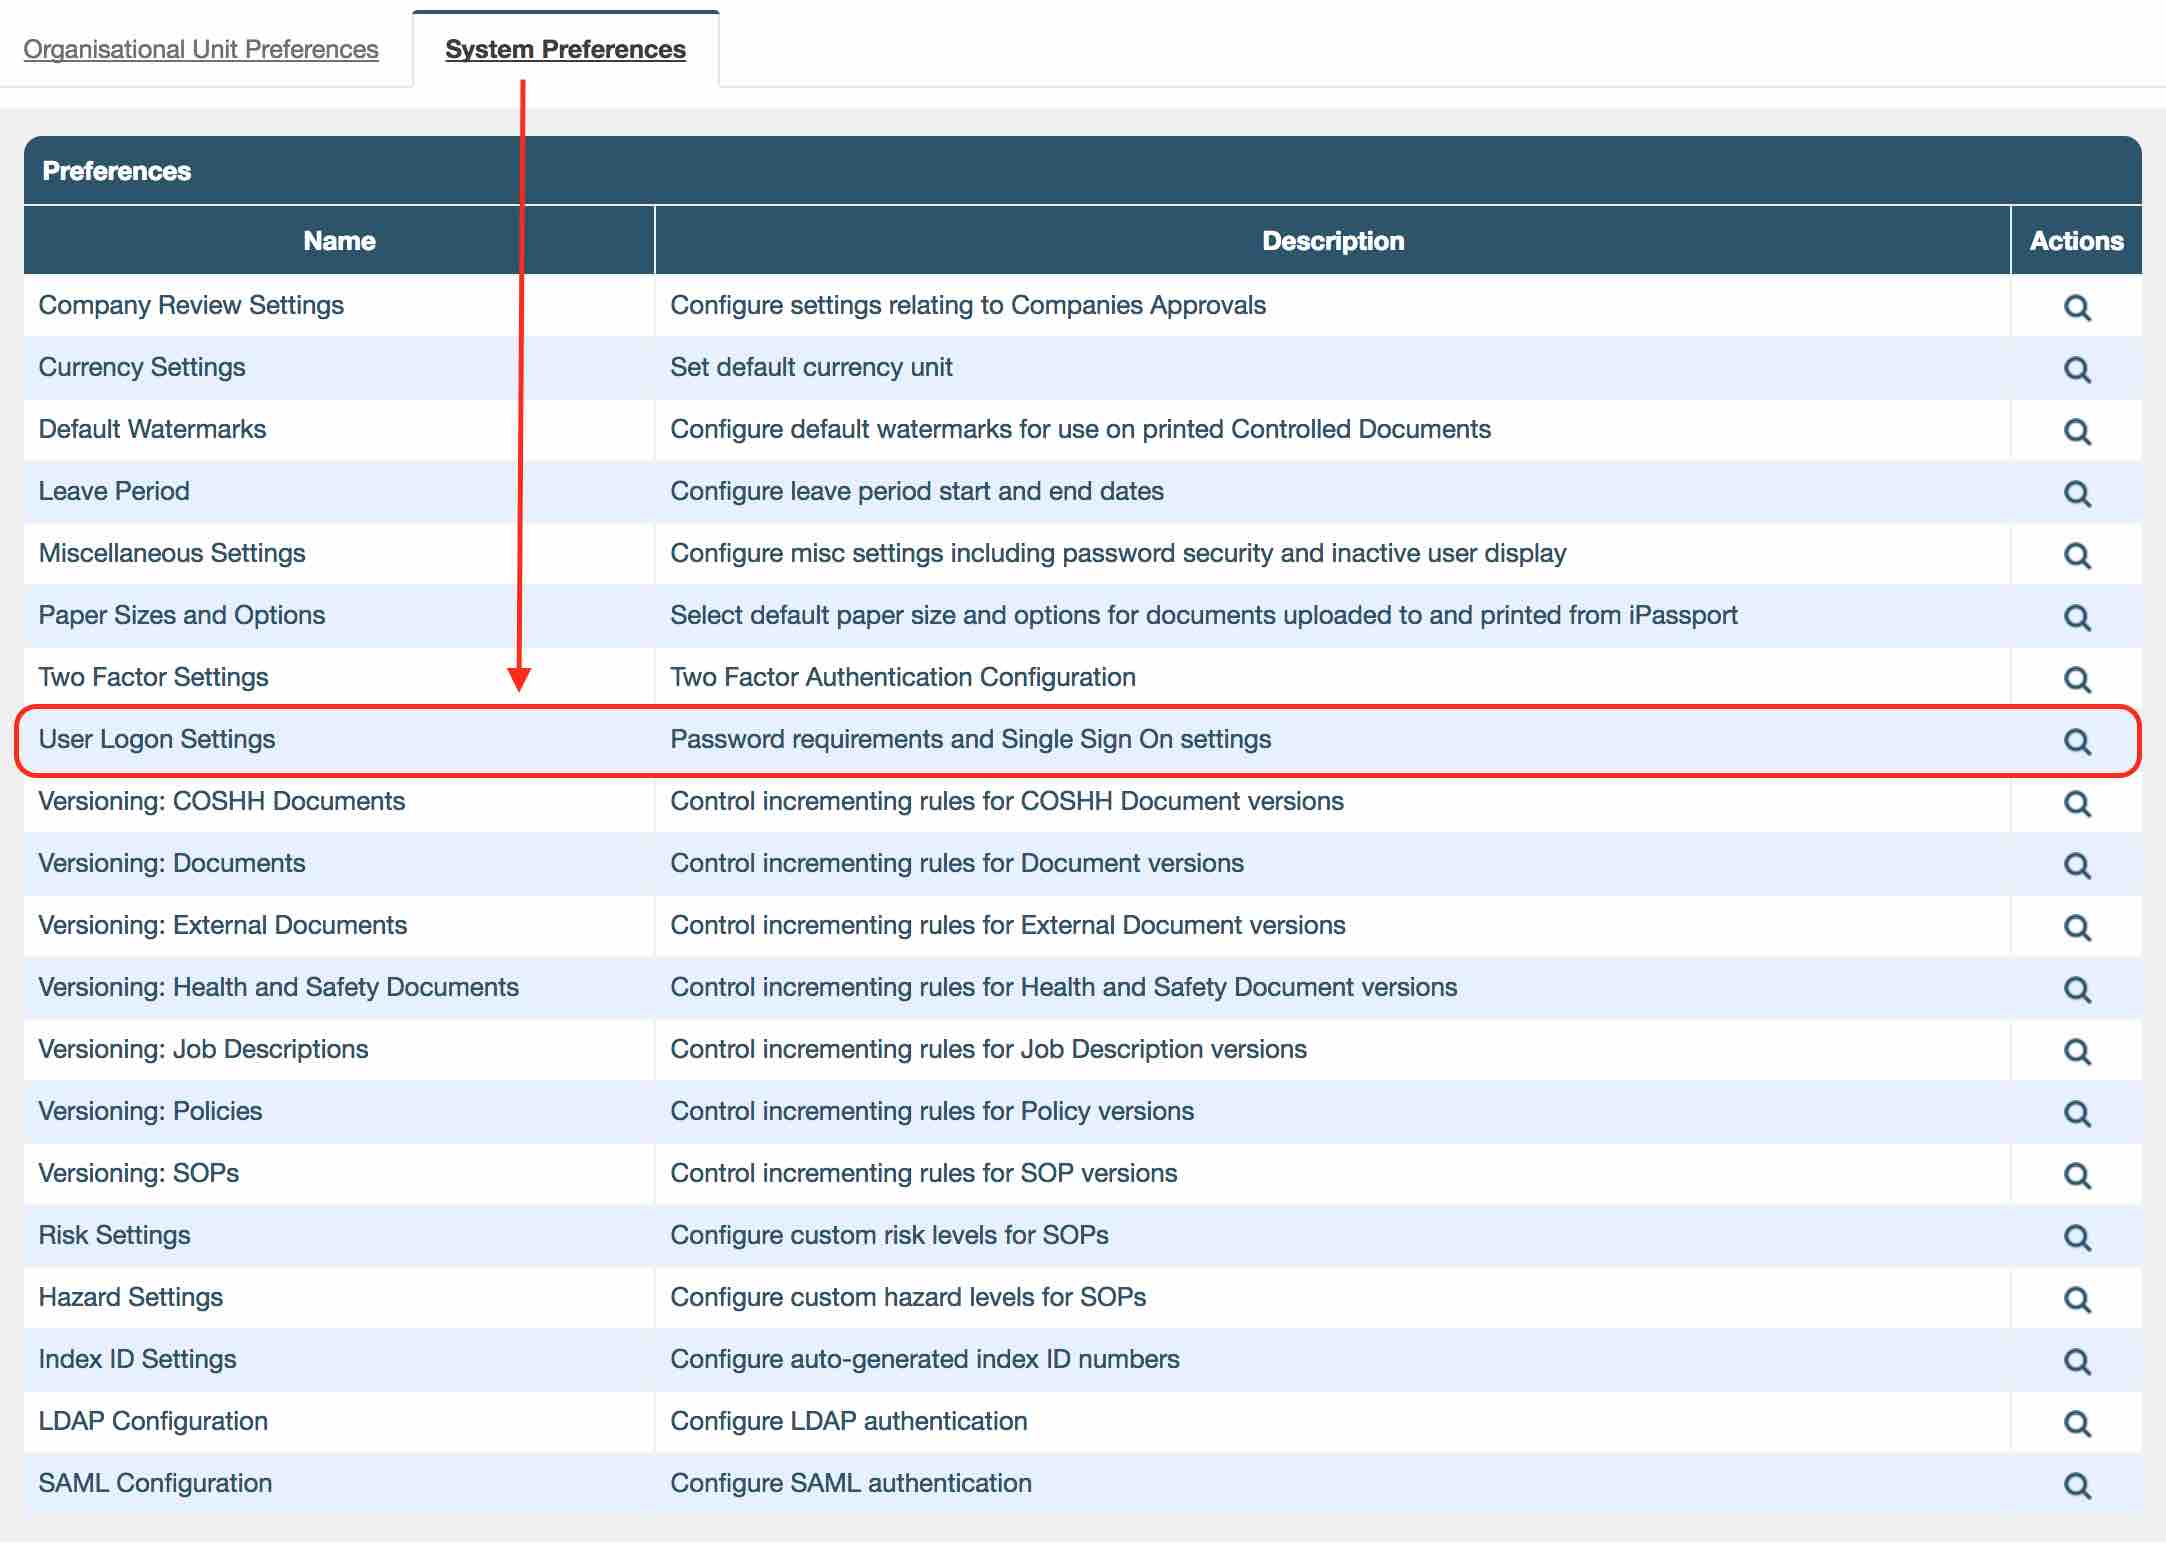
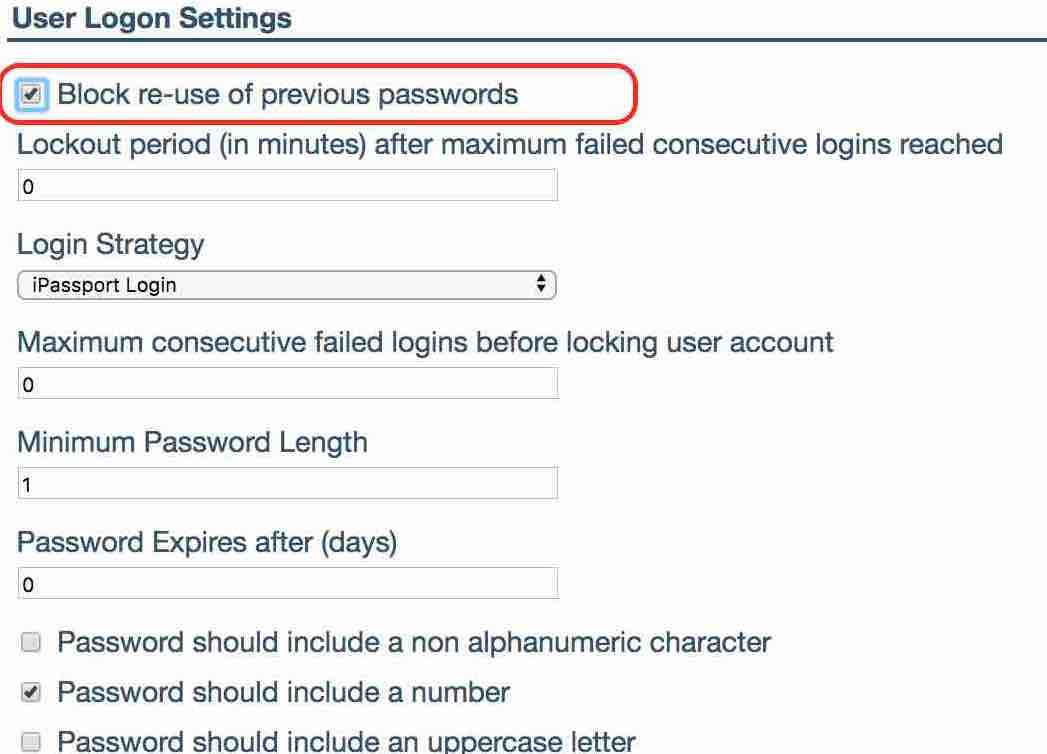
Click on the row and check the ‘Block re-use of previous passwords’ preference and click ‘Save’. This will prevent users from setting their password to one which they have previously used in iPassport. It works for both the user change password screen and the administrator’s force password screen.
Information Panel
We have added a password preferences information panel to both the password change and the force password reset form. When your users are changing their passwords they will see guidance on what the requirements are for a new password. This will be displayed on both, the ‘Change Password or Pin’ in ‘Profile’ form and force password reset screen, before they login.
Lock Out After Failed Attempts
We have added a lockout after maximum failed login attempts.
It’s possible now to set how many times a user is allowed to mistype their password before their account will be locked.
All failed logins are logged in the database and an account administrator will be able to request a report of failed attempts by emailing [email protected].
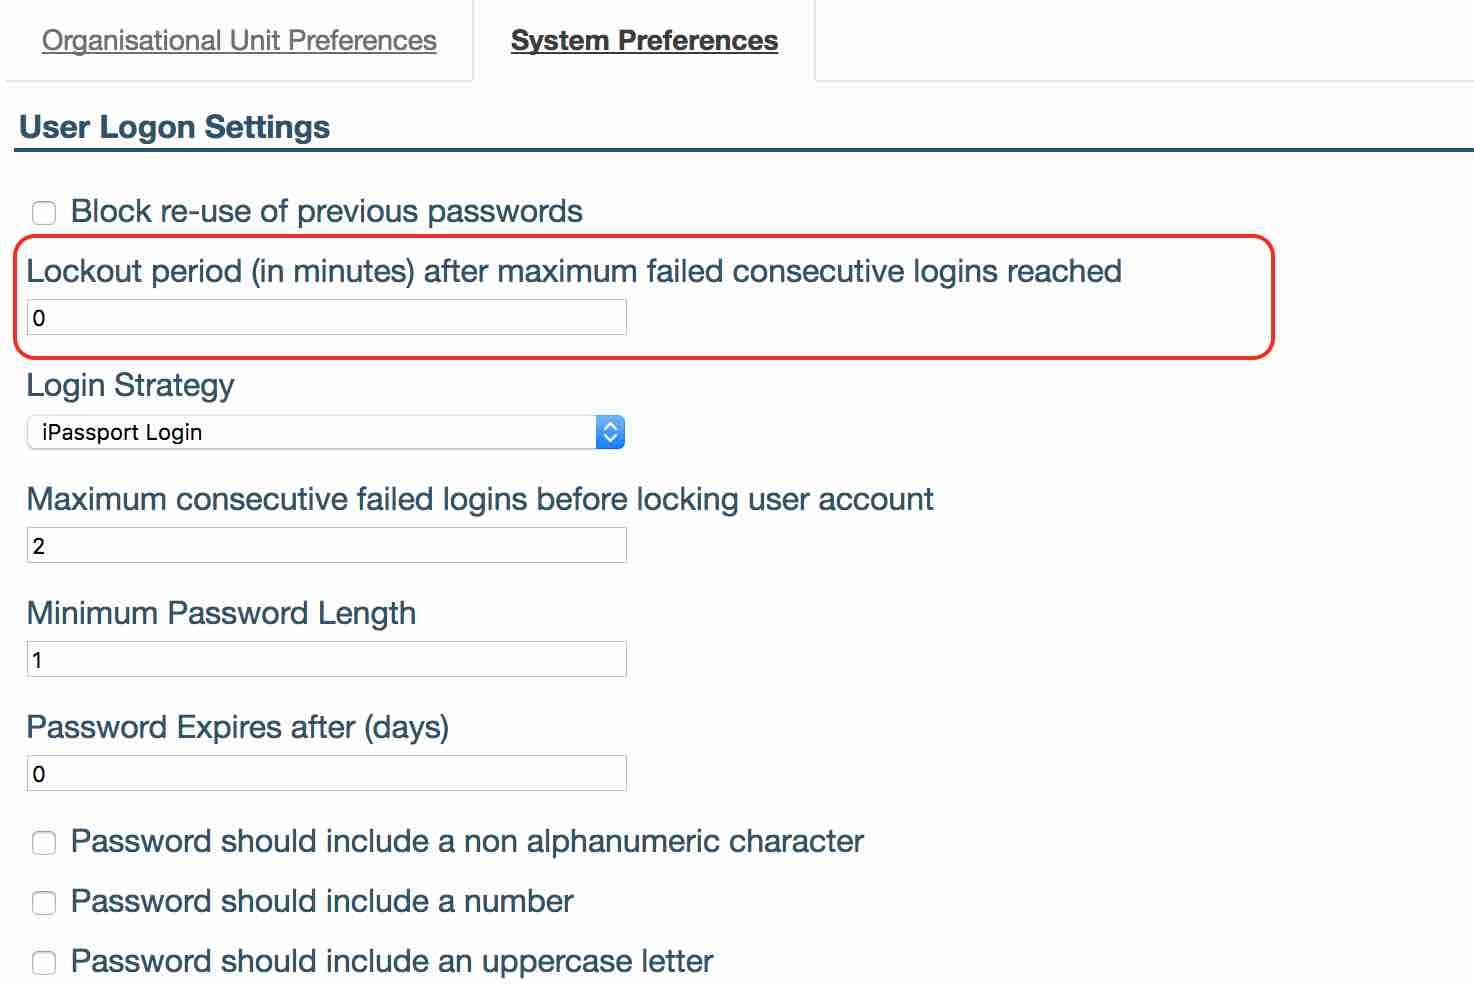
- This setting can be found under Administration -> Settings -> User Logon Settings -> ‘Maximum consecutive failed logins before locking user account’.
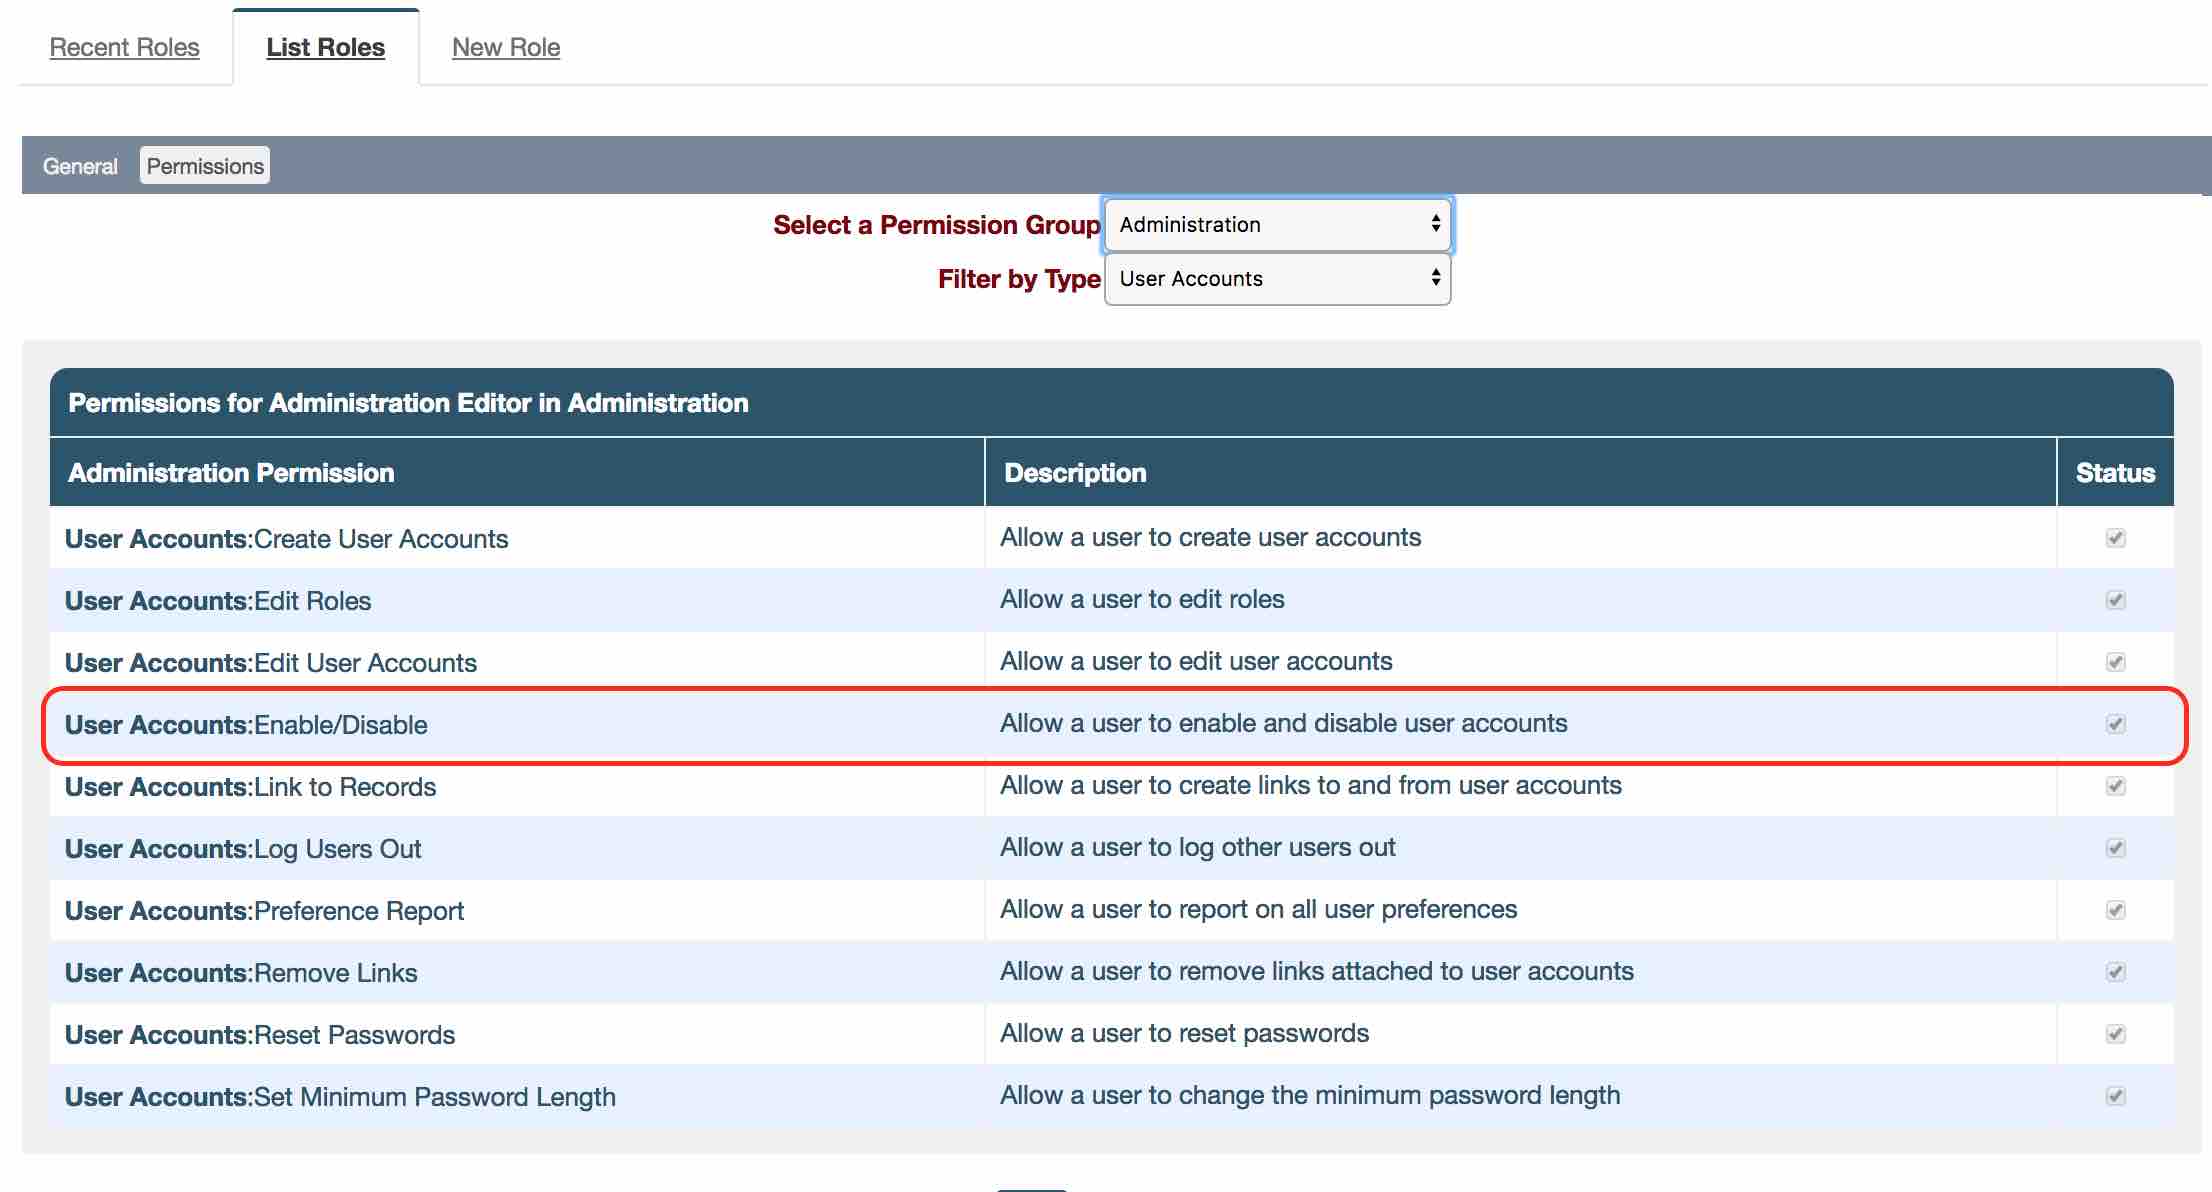
- When a user is locked out and no timeout is specified, the locked out user will have to be unlocked by a person having the permission ‘User Accounts:Enable/Disable Allow a user to enable and disable user accounts’.
- We have added a search so admin can search for locked out users. Navigate to Administration -> Users -> Search Users -> ‘Filter Locked/Not locked’ dropdown field to ‘Locked’ or ‘Not Locked’.
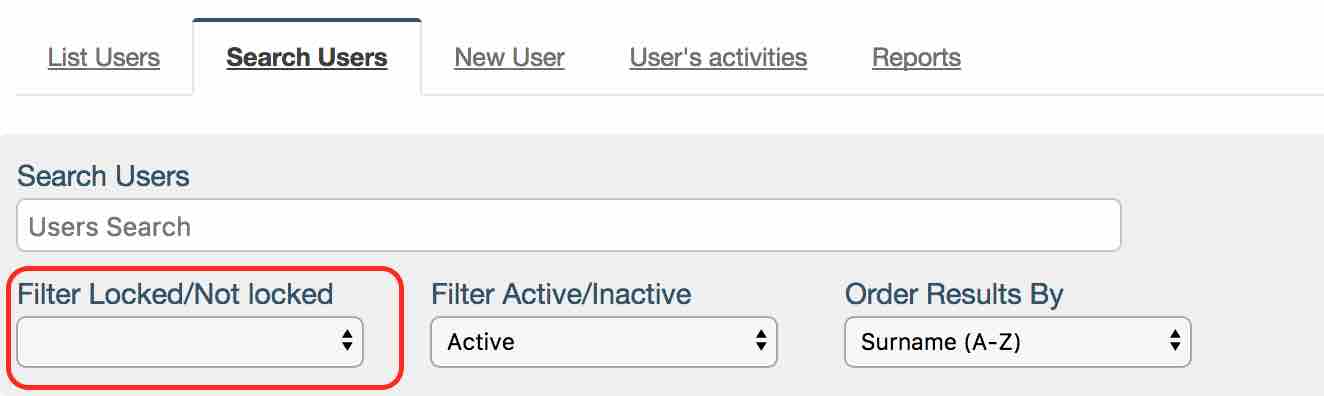
- Click on the ‘Locked Out (Click to Unlock)’ button to unlock the user.

- ‘Lockout period (in minutes) after maximum failed consecutive logins reached’ admin can define here the time period used to lock the user out, after they failed to login after maximum number of times, before allowing them to try again.
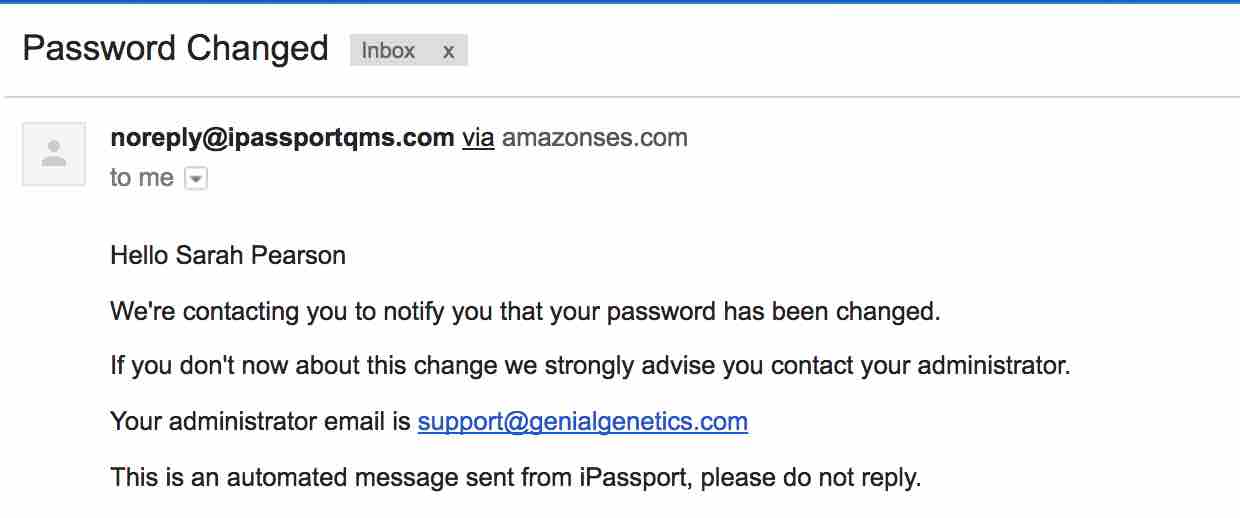
When a user’s password is changed, iPassport will send an email to the user to notify them. In case someone else changes the user’s password they will be able to take action with account administrator to investigate why the password was changed.
Two Factor Authentication
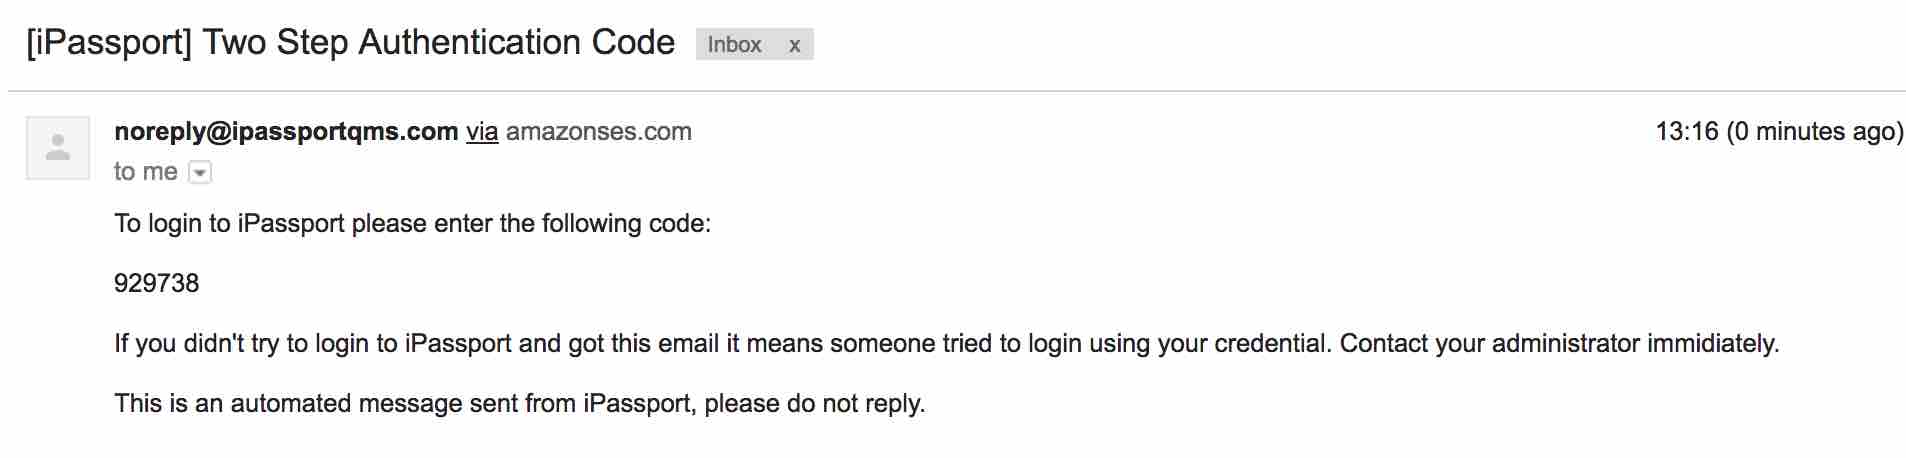
Two factor authentication allows an additional level of security to guard against password theft. When logging into iPassport, in addition to entering your username and password, you will be sent a code via email. Copy and paste this code into the field in order to access the system. Even if a malicious third party gains access to your login information they will not be able to log into the system as they cannot access your email containing the entry code.
When using two factor authentication you can choose to use code validation each time a user logs in or use the additional code validation to check after a set number of days. For example, you could ask them to verify their identity using the email code once every week. The rest of the time they would login normally.
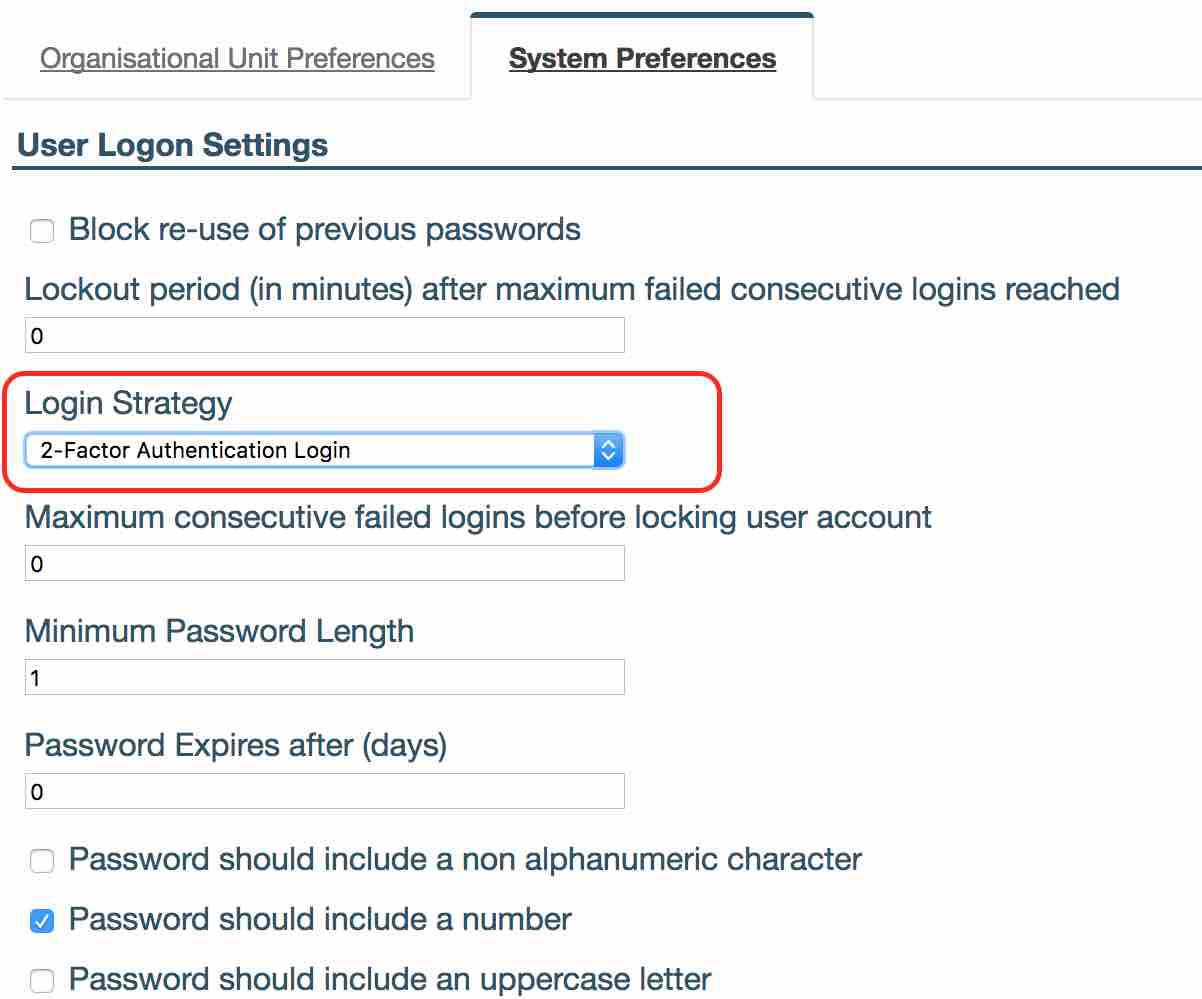
- To enable this feature, navigate to Administration -> Settings -> User Logon Settings -> ‘Login Strategy’ dropdown field and select ‘2-Factor Authentication Login’.
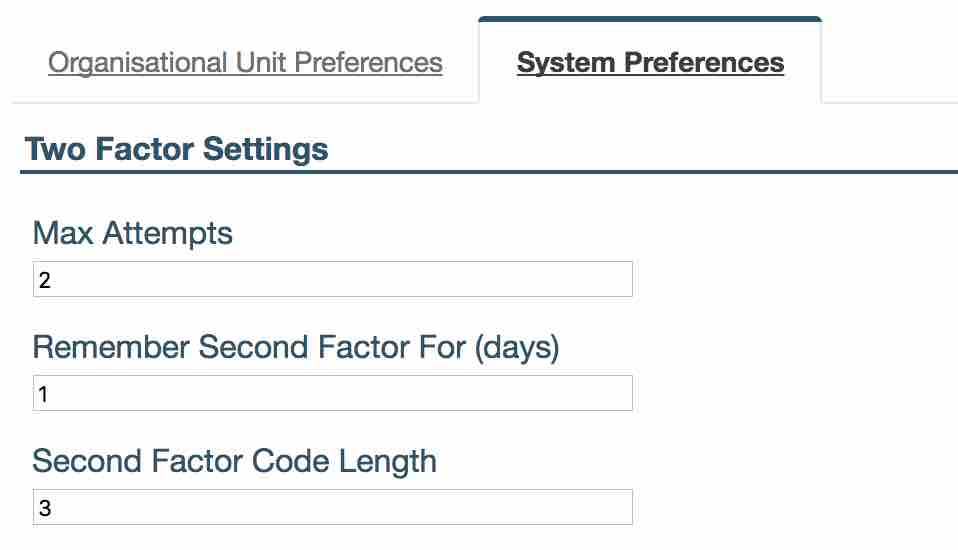
- There are customisable options in the Administration -> Settings -> Two Factor Settings.

-
‘Max Attempts’ decides how many times you can incorrectly enter verification code (the second step) before your account is locked.
-
Setting ‘Remember Second Factor For (days)’ specifies the number of days before you will be asked to provide a second factor code again. You will not have to enter second factor code between logins for this number of days. Only your login and password will be required.
If ‘Remember Second Factor For (days)’ is set to 0 this will require a second step every time a user logs in.
- ‘Second Factor Code Length’ You can also select the length of code used for second step authentication. We recommend to make it at least 4 characters.
If enabled then after login you will be directed to a screen containing a ‘Code’ text box. You will be sent an email containing the code that you can use to login to your account.
From the code entry screen you should be able to request that a new code be issued (should the email not get through to you) by clicking on the ‘Resent Code’ button.

Single Sign On
‘Single Sign On’ allows you to manage user authentication outside of iPassport and uses different Identity Providers (IdP). The system now supports SAML, ADFS and LDAP authentication.
LDAP AUTHENTICATION
If your organisation already uses LDAP for other services it’s very easy to configure iPassport to also authenticate users.
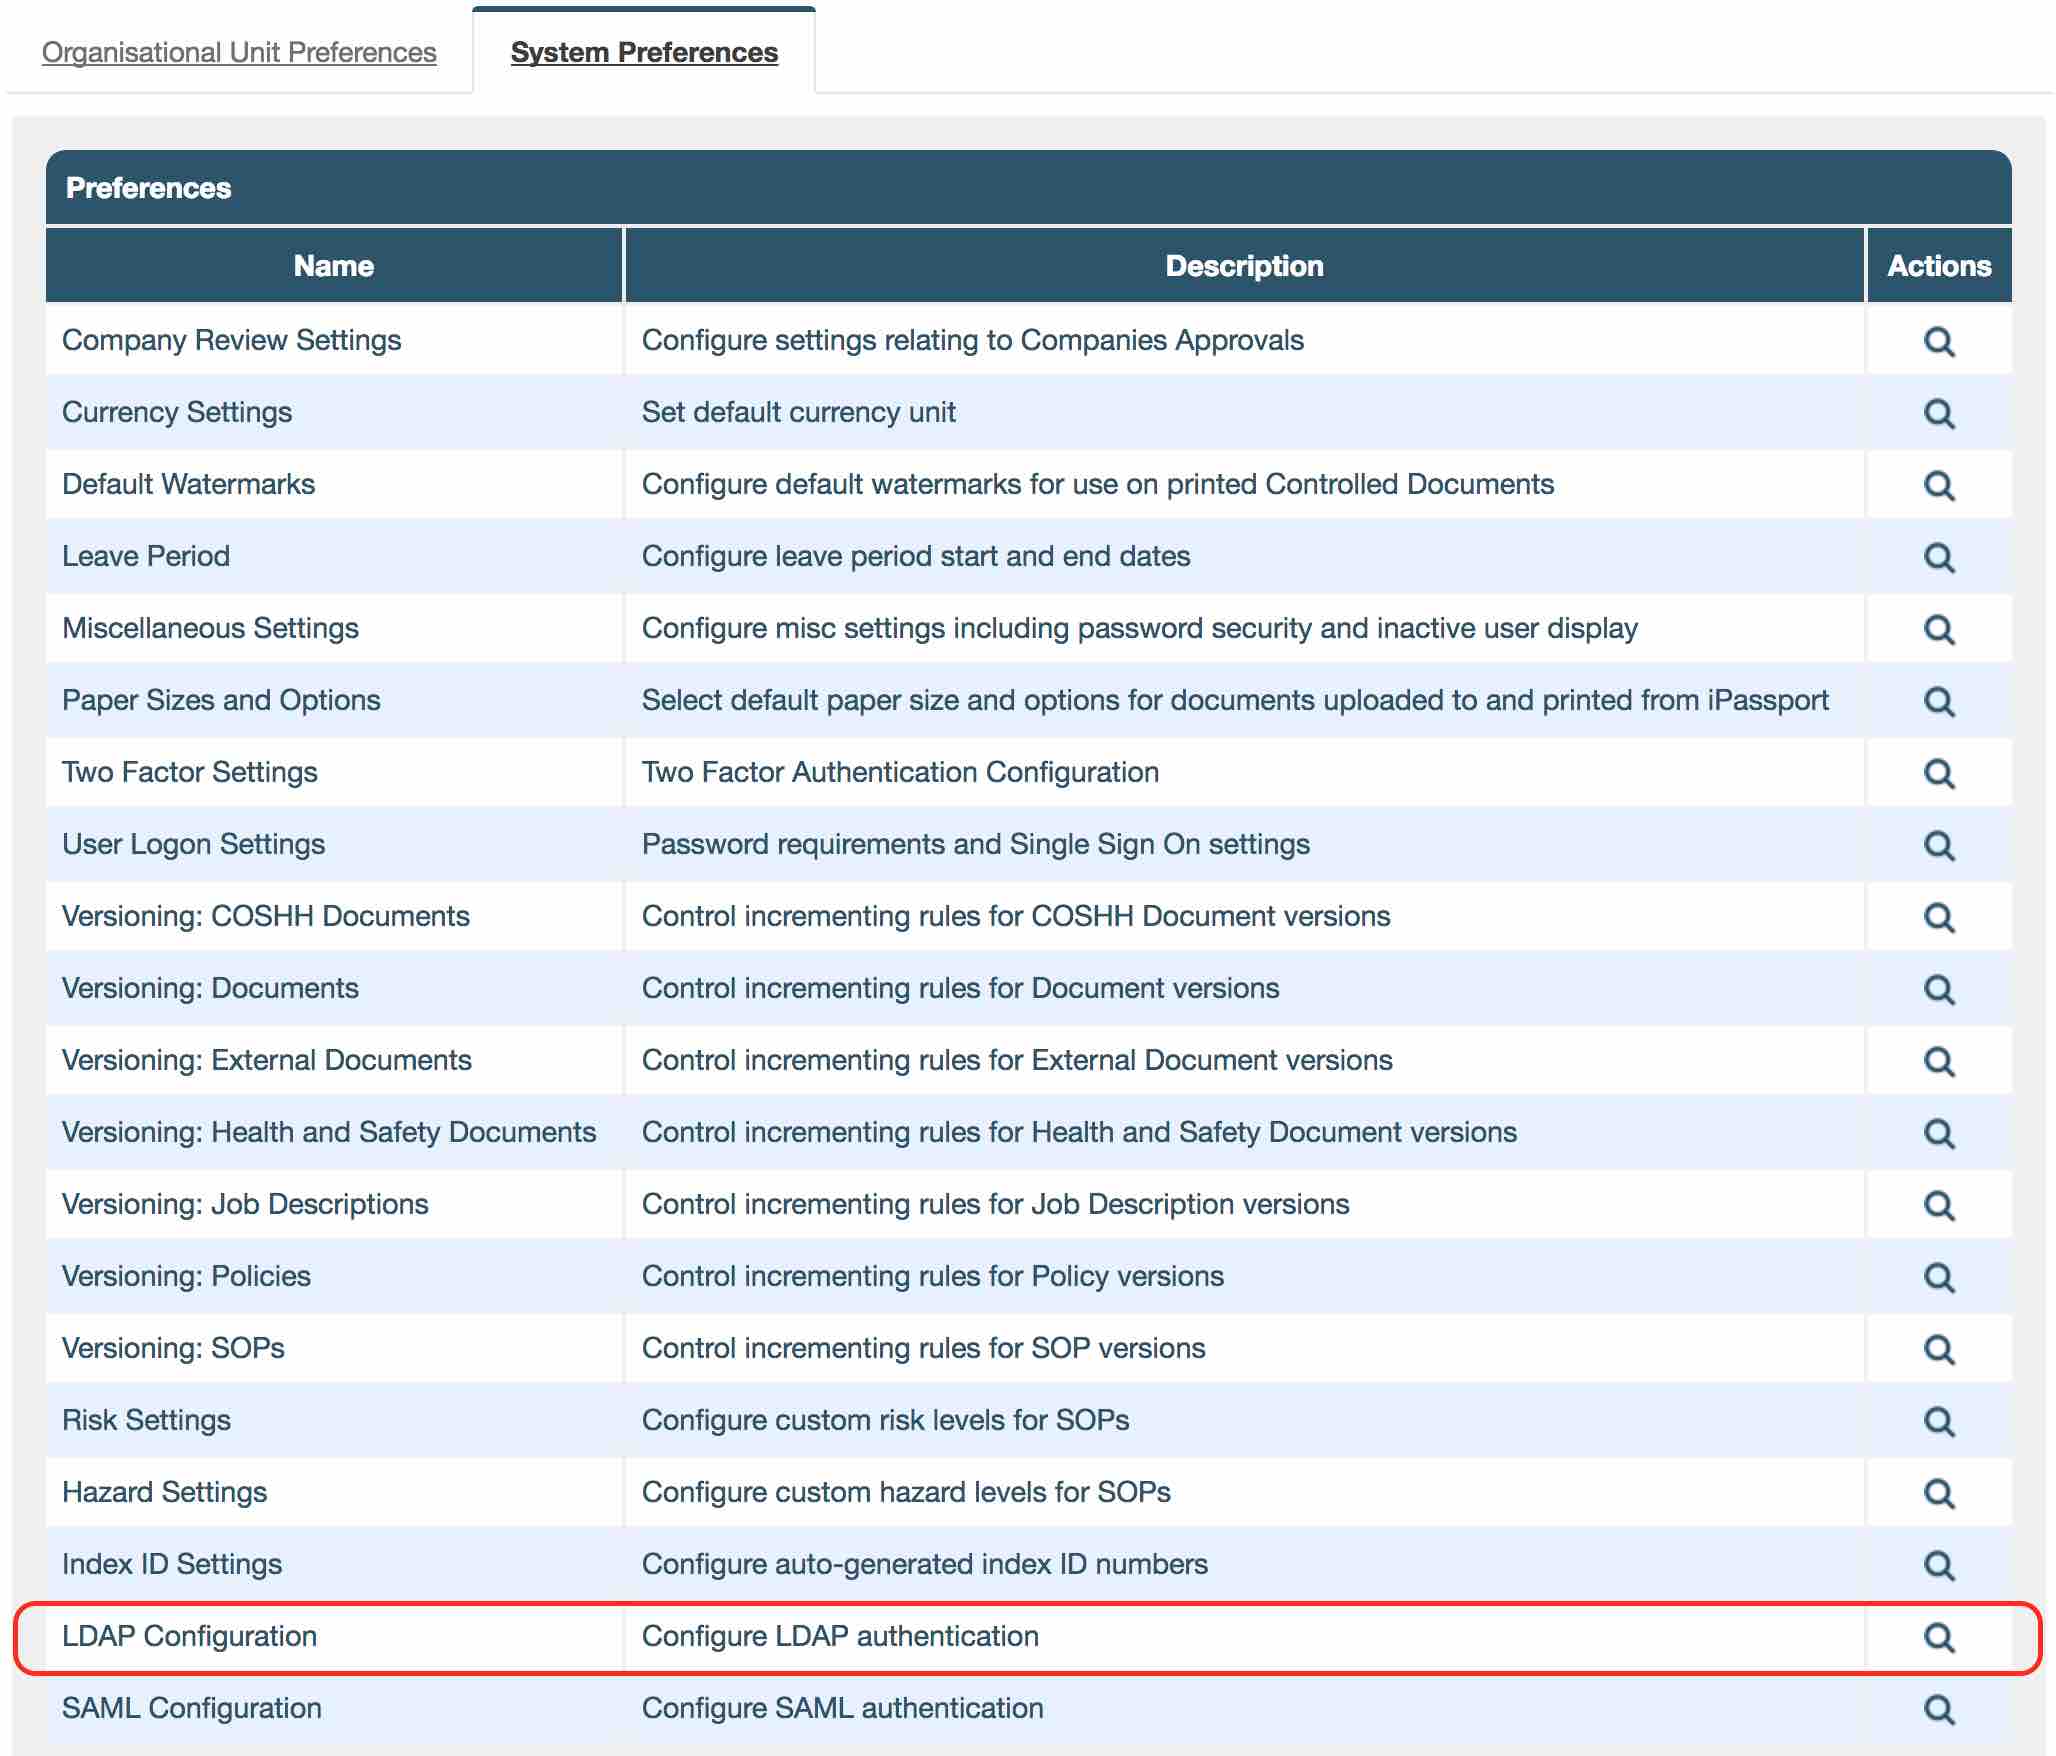
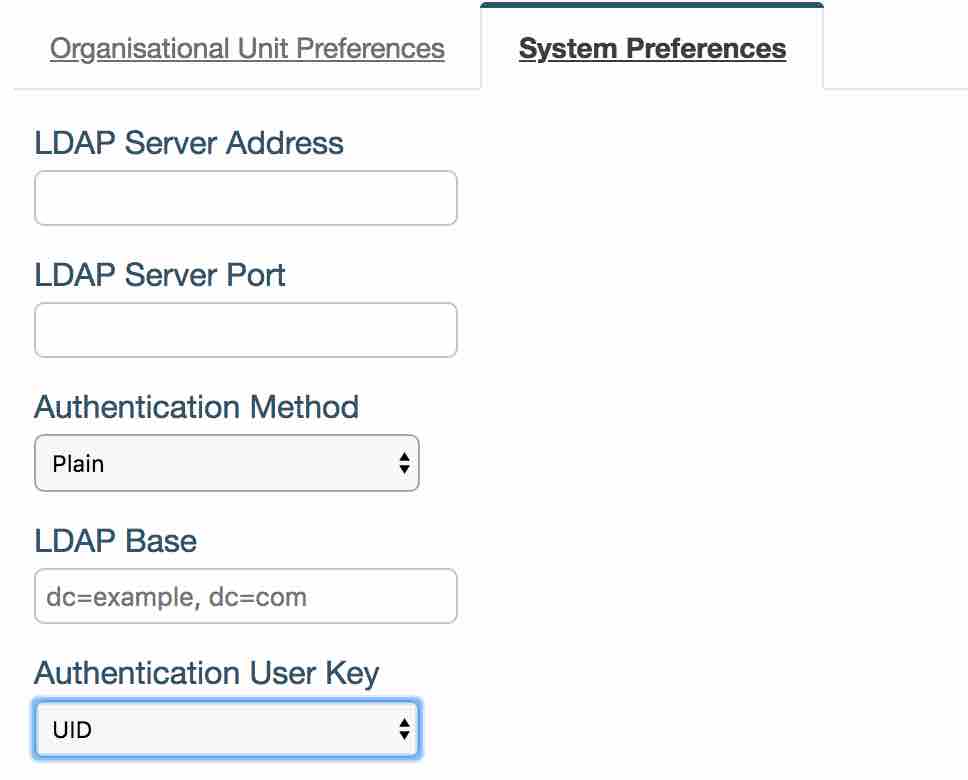
- You can configure LDAP in Administration -> Settings -> LDAP Configuration.
- ‘LDAP Server Address’ is your LDAP domain name/IP address.
- ‘LDAP Server Port’ is your server’s port number.
- ‘Authentication Method’ is how login details are sent over to the server. ‘Plain’ method sends user name and password in plain text whereas the other two options encrypt the information.
- ‘LDAP Base’ is the base that will be added to user lookup when performing authentication.
- ‘Authentication User Key’ is the unique user identifier in iPassport.
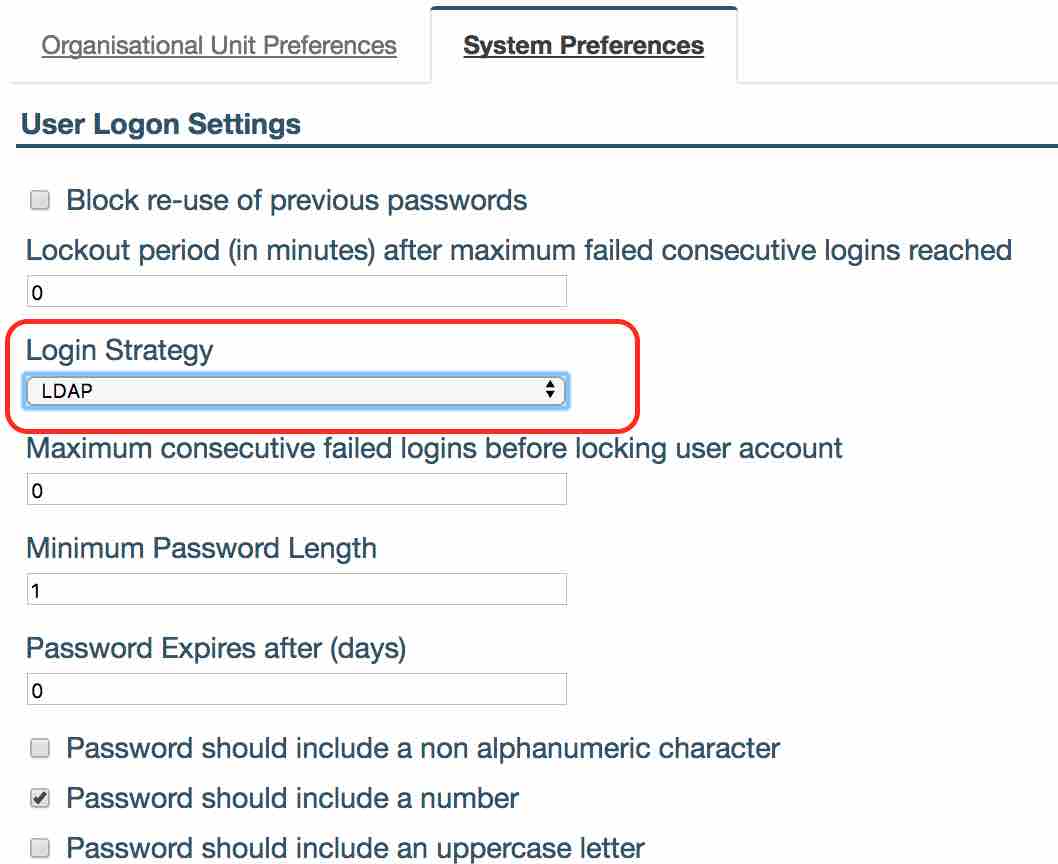
- You can set this up by selecting LDAP in Administration -> Settings -> User Logon Settings -> ‘Login Strategy’ dropdown field and select ‘LDAP’.
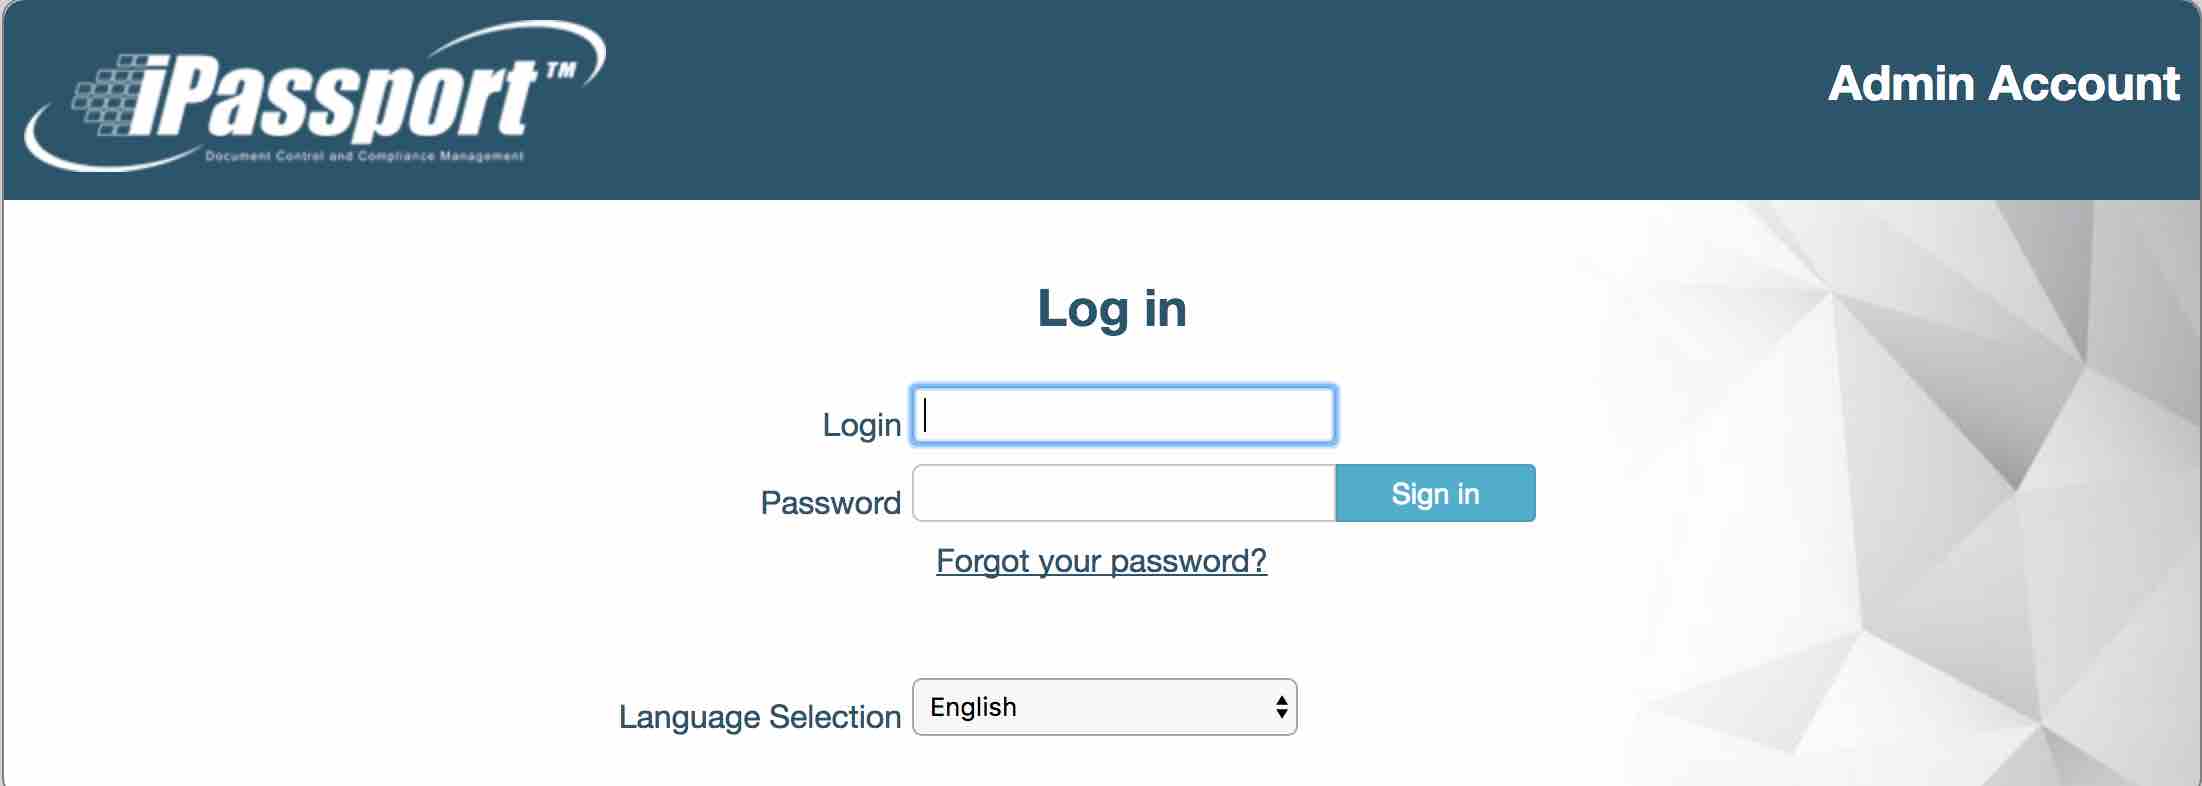
Facelift
We have also updated the login page to give it a new, fresher look. We hope you like it.
If you have any constructive feedback or would like the ticket numbers please email [email protected]
Thank you for being part of the iPassport family,
The iPassport team
Validation Documentation
P.S. Please click here for Password Complexity Validation Document.