- Creating Dist. Lists
Creating Distribution Lists
Creating distribution lists is very simple. They are not confined to any organisational unit (OU) so they can be accessed from any record, except if they are private or if they are set to be used for reviews or review verifications. They can be made private if applicable but this will interfere with certain uses. For example, private distribution lists can’t be used for document reviewers and review verifiers.
To create a distribution list:
-
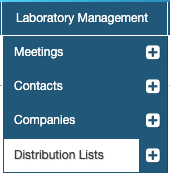
Go to Laboratory Management > Distribution Lists > New Distribution List (the plus (+) sign next to the menu item is a shortcut to the New Distribution List tab)
-
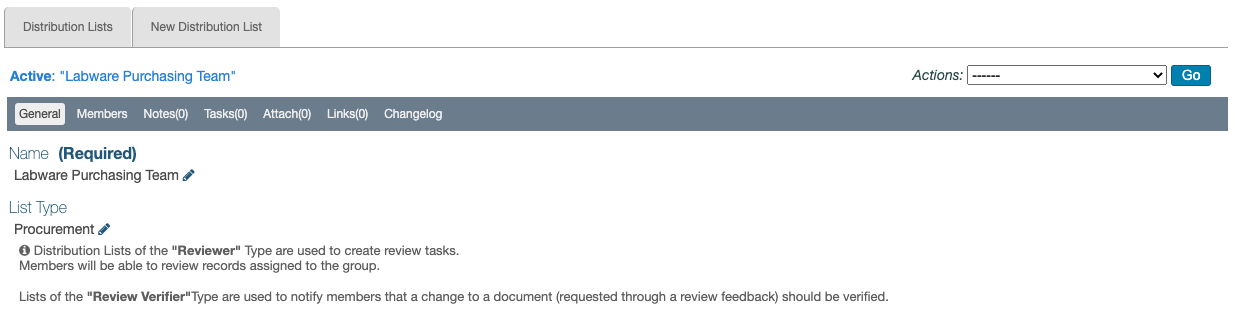
Enter a Name for the distribution list; this is a required field
-
Select a List Type from the dropdown menu displayed by clicking the field (managing types is described below); this field can be left blank
-
The Visibility defaults to, Public; the only option in the dropdown list is to make the list Private
NOTES:
- Public lists allow adding contacts who are iPassport users, as well as external contacts.
- Private lists also allow adding iPassport users and external contacts, plus contacts who are set as private.
- This setting cannot be modified once the distribution list is created.
- Public lists allow adding contacts who are iPassport users, as well as external contacts.
-
Click Create List to save and open the new record
Once created, users with permissions can always edit the record parameters by clicking the pencil icons by each field.
Adding Contacts to Distribution Lists
The next step is to add people to the list:
-
Click the Members tab
-
Click (+)Add Member
-
Start entering the name of a contact in the field, Search Contacts, on the Add New Member lightbox which pops-up
NOTES:
- Contacts can be non-users of the system, like contractors or suppliers.
- When new users are created in the system, a ‘Contact’ record is automatically generated for them and they’ll be available for selection in this step.
- Only private distribution lists allow adding private contacts.
- Inactive users cannot be added to distribution lists.
- Contacts can be non-users of the system, like contractors or suppliers.
-
When the name of the desired person appears listed below, click the plus sign (+) in the Actions column to add it
-
Continue adding people in the same way and when finished, click the “X” in the top right corner of the lightbox to close and return to the Members tab
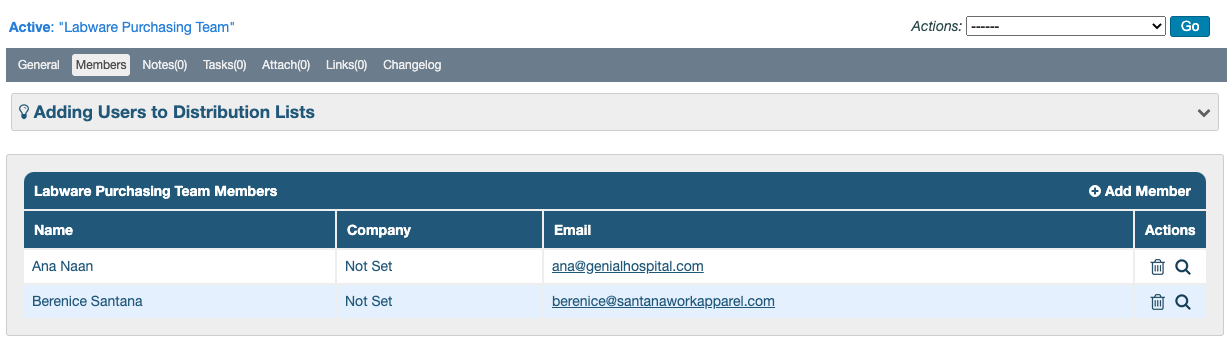
The new additions should appear in the members list.
Adding New Users to Distribution Lists
It is possible to add new users to distribution lists when the user record is being created. The New User tab includes a field with a search filter to find and select distribution lists where the new user can be added.
Removing contacts from Distribution Lists
Contacts can be removed from distribution lists simply by clicking the trash/bin icon in the Actions column of the Members tab list.
Managing Distribution List Types
Two distribution list types are supplied with the system and can’t be edited -
- Reviewer - with this type set, the list becomes available in the Distribution List search filter of the ‘Request Review Feedback’ lightbox (found in Documents’ Reviews tab) and the Schedule a new review lightbox (found in Internal Audits’ and Non-Compliances’ Reviews tab)
- Review Verifier - when the verification step is enabled in an OU, dedicated distribution lists can be set to this type and used in the Review Feedback section of the ‘Organisational Unit Preferences’ for that OU
Additional distribution list types can be created to help identify them.
To Manage distribution list ‘Types’:
First click the pencil icon under the List Type field, then click the spanner/wrench icon which appears to the left of the field. This will open the Distribution List Type lightbox.
- To add an item,
1. Click [+]Add Distribution List Type to expand the area
2. Enter a name for the distribution list type in the field provided
3. Click, Create Distribution List Type
1. Click the pencil icon in the Actions column
2. Adjust the name
3. Click, Save Distribution List Type
1. If a trash/bin icon is available in the Actions column, clicking it will delete the item; if an item is in use, it can't be deleted
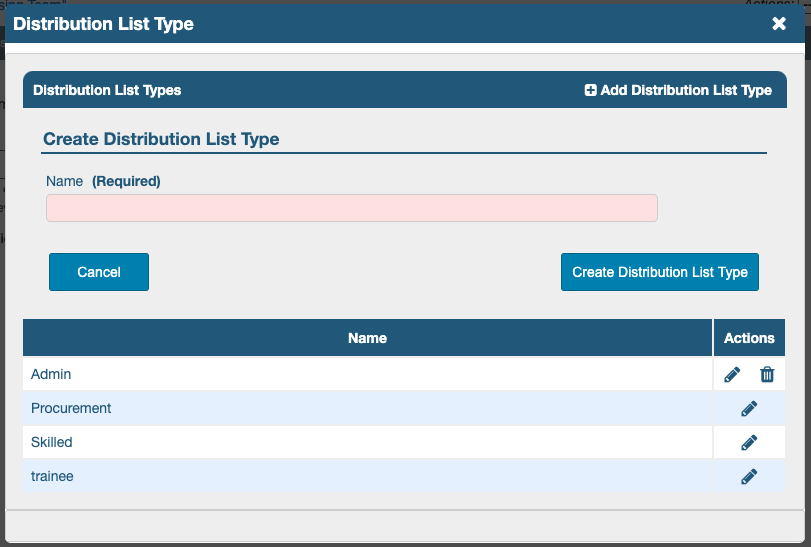
Click the “X” in the top right corner to close the lightbox.
NEXT STEP: Searching and Managing Distribution Lists
PREVIOUS STEP: Permissions for Distribution Lists