- Creating Training Courses
Creating a Training Course
First, navigate to Competency > Training Courses > Create Course tab.
There are a total of four steps to complete when creating a new training course.
New Training Course Step One of Four
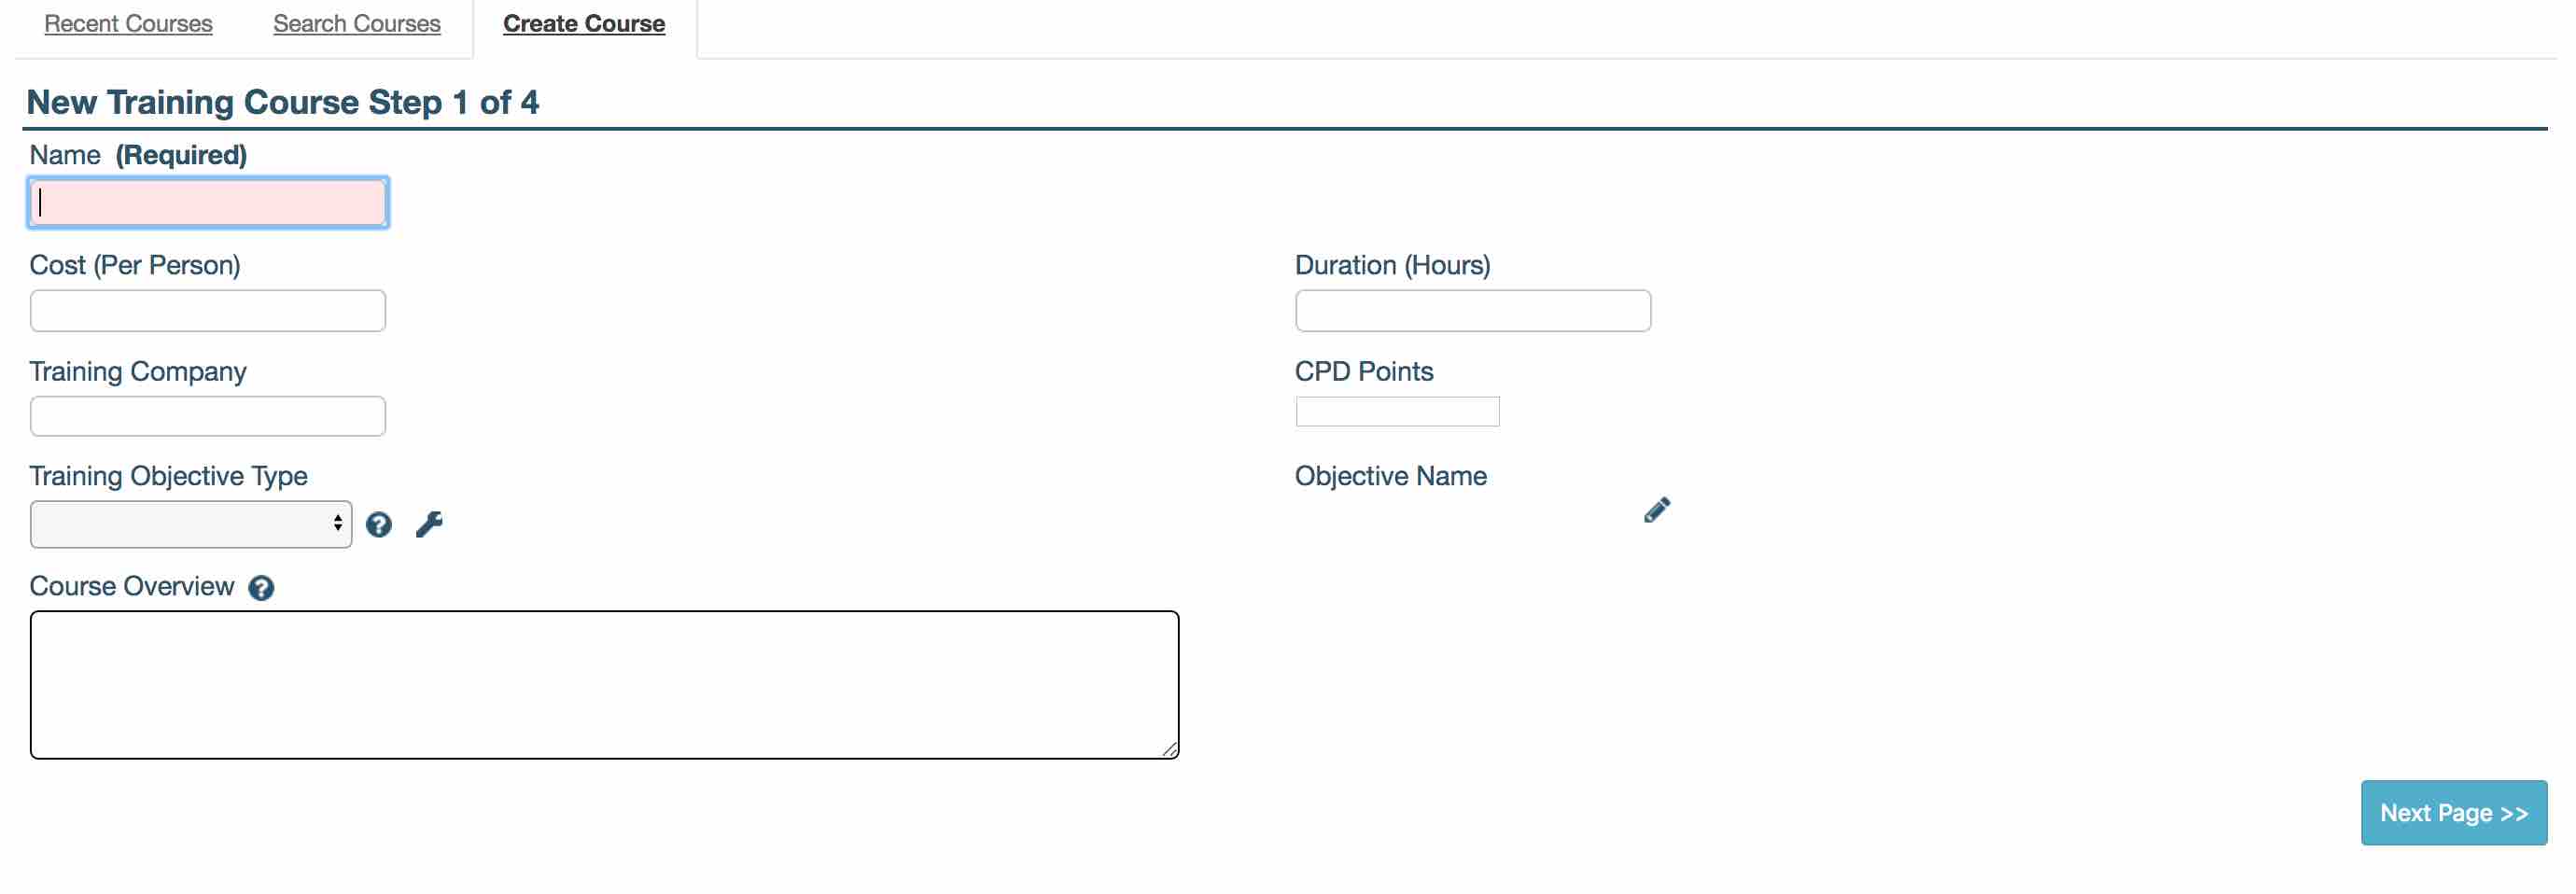
Step 1 of 4 provides the following fields of which, only the Name is required to move to the next step:
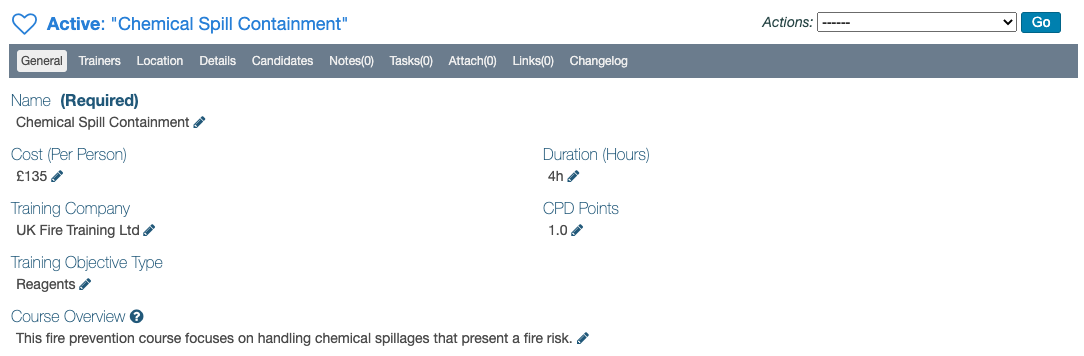
- Name of the training course; this is a required field
The Name should be descriptive (although not too long) as this is the item displayed when searching. - Cost (Per Person)
- Duration (Hours)
- Training Company - this field uses a smart search tool; when a user starts to type in this field it searches the companies on the system. It does not allow a user to add free text information here.
- CPD Points - a user can set how many CPD (Continuing Professional Development) points this course will award. The US equivalent of CPD Points are “CEU Points” (Continuing Educational Units).
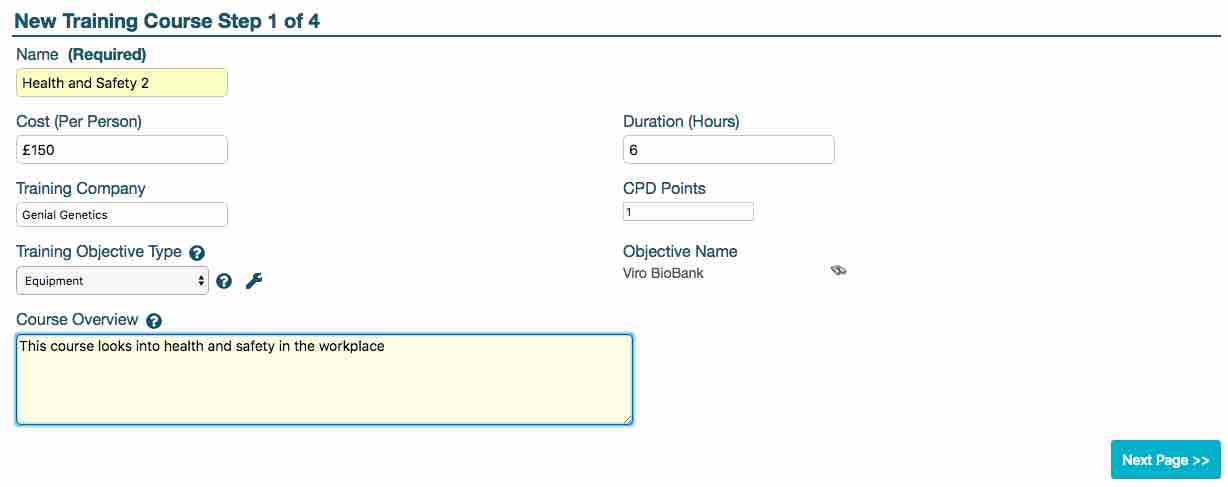
- Training Objective Types - if a user chooses a built-in objective type (such as Controlled Documents, Equipment, Materials or Reagents), they can link this course to a specific object by clicking the edit (pencil) icon of the field, Objective Name.
Training Objective Types can added/removed by clicking the spanner icon (please see information below on Managing Training Objective Types). - Objective Name - this field only appears if one of the built-in objective types (Controlled Documents, Equipment, Materials or Reagents) is selected; a smart search tool allows linking to one of the records of the type selected
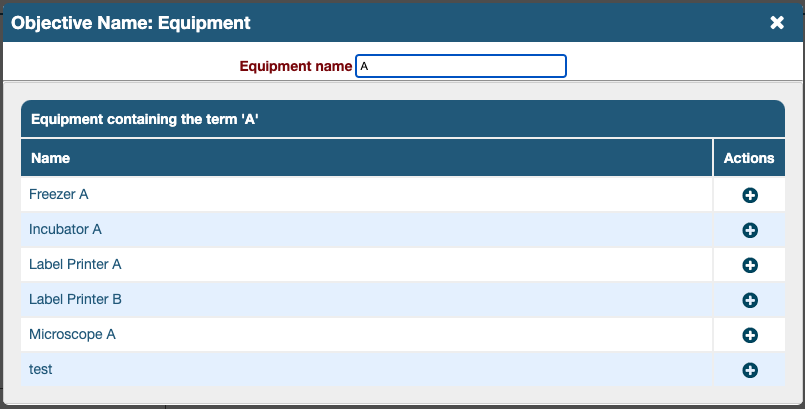
For example, if the training objective type, Equipment is selected, a lightbox will open where existing equipment names can be searched for. By starting to type the name of the piece of equipment, a list of matching results will build below. Click the ‘+’ button in the ‘Actions’ column to add the corresponding equipment record. This will link the equipment to the training course and close the lightbox, returning the user back to the ‘Step 1 of 4’ screen.
- Course Overview - a free text field where information about the course can be entered
Managing Training Objective Types
The system Training Objective Types (Controlled Documents, Equipment, Materials and Reagents) are not editable and they allow linking the course to a specific record. Other training objective types can be added but they won’t provide a field to link the course to an object here.
Instructions on how to manage this configurable look-up field can be found by clicking this LINK.
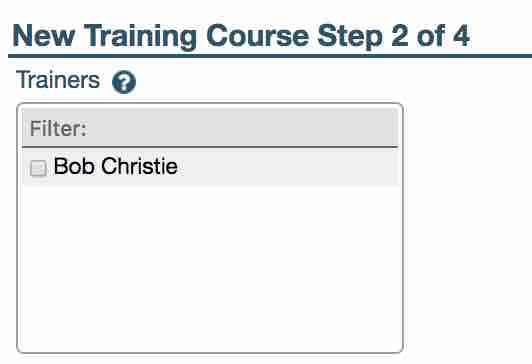
New Training Course Step Two of Four
The second step is to add trainers to the training course. The Trainers field uses a smart search tool. When a user starts to type in this field, it searches the trainers within the company selected on the previous step. It does not allow a user to add free text information here.
Contacts have to be linked to a company and must be declared as ’trainers’ for the system to find them and list them in this step. The section below describes Setting Contacts as Trainers of a Company.
Setting Contacts as Trainers
Once a company is added to the system, it should become available in ‘Step 1 of 4’ without need of any special settings. If there are known trainers within that company who will deliver any of the courses created, they should be declared as trainers within their Contact record.
To declare a Contact as a Trainer of a company:
1. Navigate to Laboratory Management > Contacts > Search Contacts and find the person or create a New Contact in the adjacent tab
2. In the contact's General tab, locate the field, Company
3. If it's empty, start typing the name of the company and click it when it appears below; the search-as-you-type field will offer matches in a dropdown list
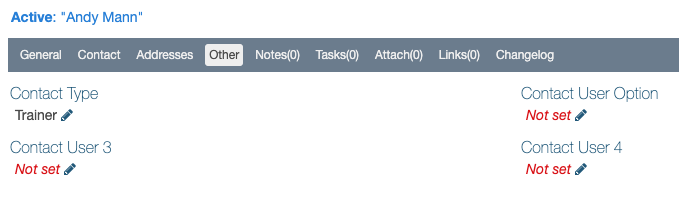
4. Click the tab, **Other**, in the contact's record
5. Click the edit (pencil) icon under Contact Type and select the type, Trainer
This step is optional, a user can click ‘Next Page’. This field can be edited once all steps have been completed and click on the ‘Trainers’ tab.
New Training Course Step Three of Four
Next, an address for the training course can be added. All fields apart from Training Country accept free text. Clicking Training Country opens a dropdown list to allow the user to scroll and select the country required.
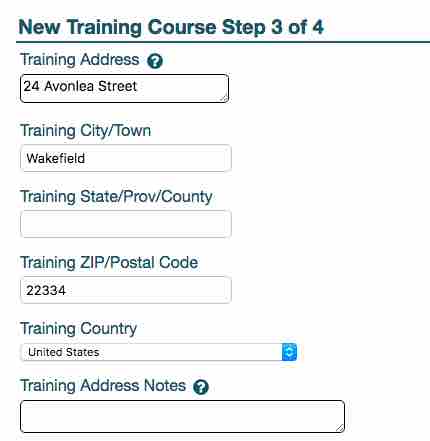
This step is also optional and Next Page can be clicked without entering any data. These fields can be edited once the record is created by clicking its Location tab.
New Training Course Step Four of Four
Training Details can be entered in this last step. This field accepts free text as well and it can be left blank. Clicking the button, Create Training Course completes the process.
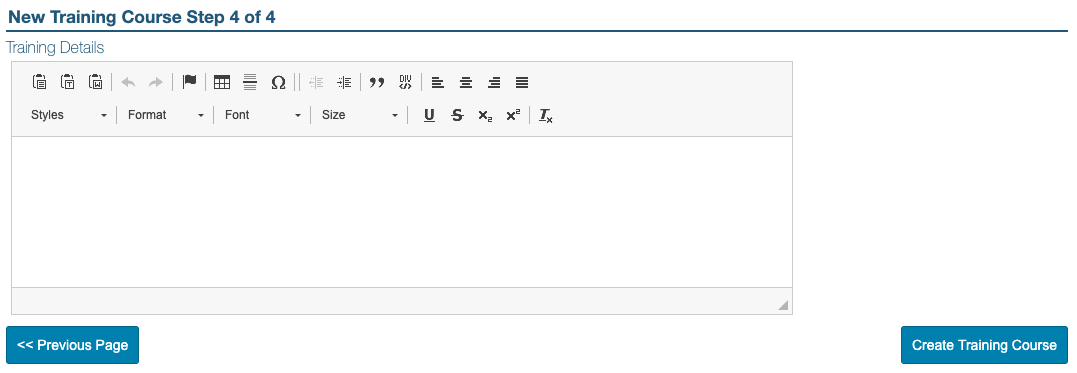
This step is also optional and Create Training Course can be clicked without entering any data. This field can be edited once the record is created by clicking its Details tab.
The new course will appear on screen after clicking Create Training Course. Its fields will remain editable until it’s inactivated. The Set as Inactive option is found in the Actions dropdown menu and triggering it, removes the course from the list of options when scheduling training events.
NEXT STEP: Scheduling Training Events
PREVIOUS STEP: Training Permissions