- View/Assign Documents to Workflows
Viewing Documents Used by a Workflow
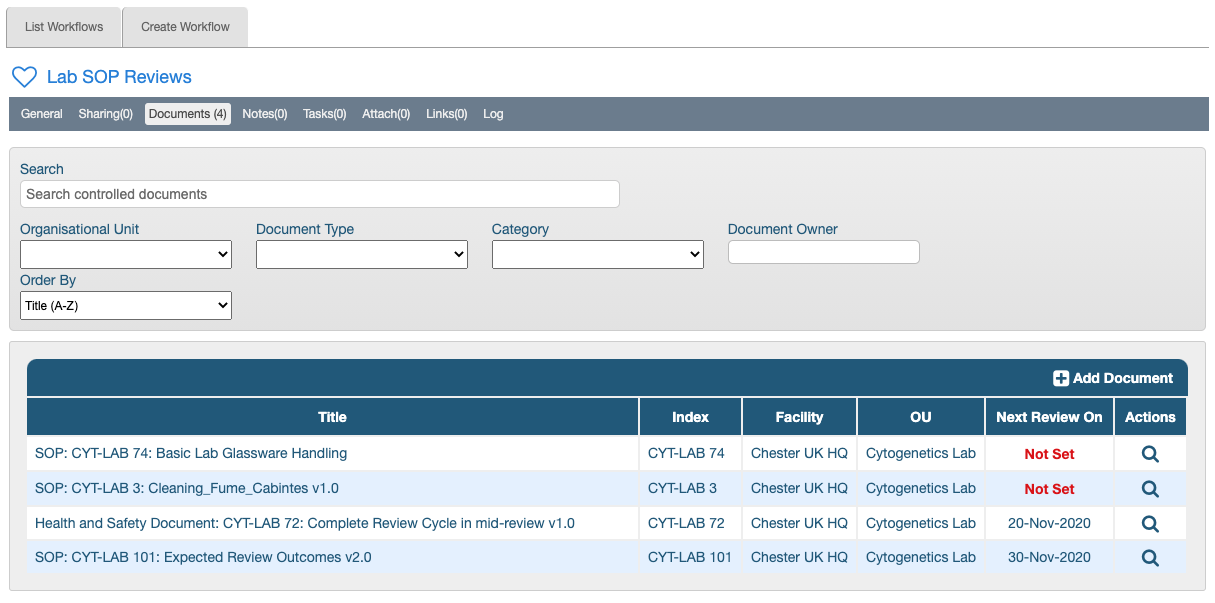
Every controlled document workflow record has a Documents (n) tab where documents used by it are listed. The number in parenthesis, “(n)”, next to the tab name indicates how many documents are currently using the review workflow.
This tab has a search area to help locate any individual document. Clicking the row of any document will navigate to that record.
Assigning Documents from a Workflow
The Documents tab allows applying a workflow to individual documents, as long as the workflow is available in the OU where the document resides.
To assign a document from within a workflow record:
- Find and open the workflow by navigating to Administration > Workflows > List Workflows
- Click the Documents tab
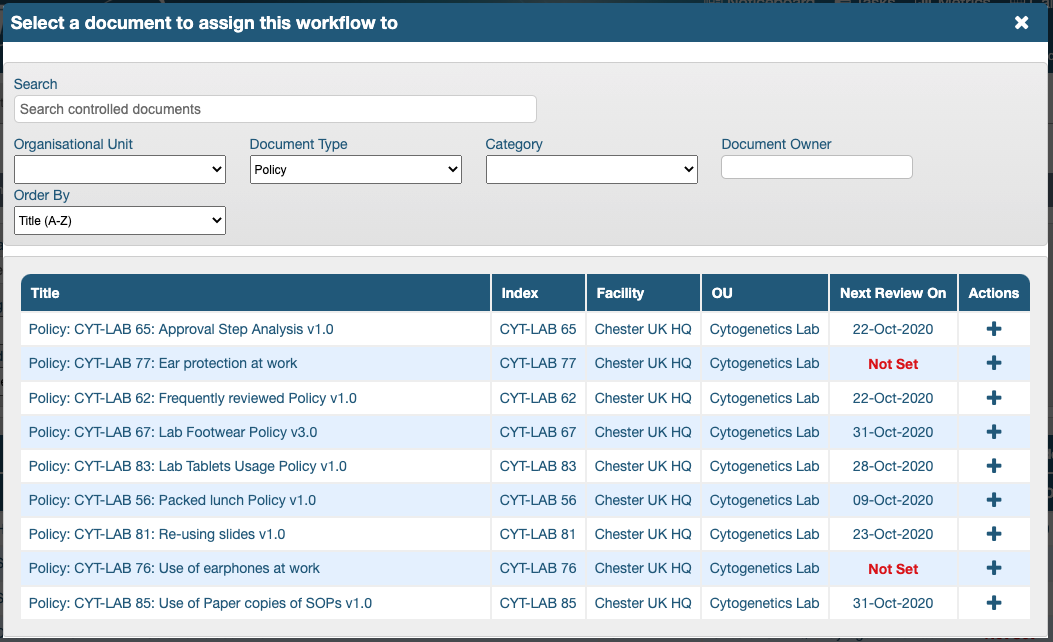
- Click [+]Add Document in the top right corner of the document list area
- Use the search filters in the lightbox that appears to locate the document to add
- When the document appears listed below, click its plus sign (+) in the Actions column to add it to the list of documents which use this workflow
- Click the ‘X’ in the top right corner of the lightbox to close it when finished
Clicking the row of any document will navigate to that record; a dialogue box will ask for confirmation of this action (“You are about to navigate away from this screen to view the document. Do you want to continue?")
Assigning Workflows to Multiple Documents from the Controlled Documents area
It is also possible to select multiple documents in the controlled documents Search tab and apply a given workflow to them.
To assign a workflow to multiple documents:
- Navigate to the Laboratory Records > Controlled Documents > Search tab
- Perform a search to bring up the documents of interest (e.g., all the authorised SOPs in one OU)
- Select files -
- Select all documents by ticking the checkbox on the left in the search results header area
- Alternatively, select documents individually by ticking their checkbox in the left column
- Click the button, + Assign Workflow which appears above the search results, on the right
- Select the Workflow Type - review or publishing workflow
- Read the messages to confirm that no document will be adversely affected (any ongoing workflows will be restarted)
- Select the workflow to apply to all the selected documents in the field, Select Workflow
- Click Save
Removing Documents in Publishing Workflows
Documents can be removed in the publishing workflows Documents tab. A trash/bin icon is available in the Actions column of the list in the Documents tab. Clicking it will bring up a warning - ‘When this document is removed from the workflow it will have to be authorised/published manually.’. Once the button, ‘Remove Document’ is clicked, it disappears from the list and the publishing settings for the document will be, ‘None (manual authorisation)’. Documents with locked publishing workflows can’t be removed from the list. Review workflows don’t offer this function.
This is the last article in this user guide.
Previous Step: Sharing Workflows with other OUs